Saturday, 25 September 2010

RBRR ' 10 prep.... again!

Last full day to get the PI ready for the RBRR on Saturday, but managed to get a head start on Friday night by taking out the diff, replacing the leaking front seal and re-fitting all in one evening. Tough job, hair full of EP90, but it was done.
Sills creaked a bit, but a very large piece of wood as a brace, and it didn't fall off and the doors still open so it must be ok!
 This morning saw a driveway full of Triumphs. Bradley's Red 2500 in the background and Dave Marshall's Saffron 2000 on the right. He needed a bit of help and guidance so we worked on both cars together. Dave's needed a cooling system flush, a few hose clips replacing and an engine mounting sorted. After that a quick check on gearbox oil levels and he was done!

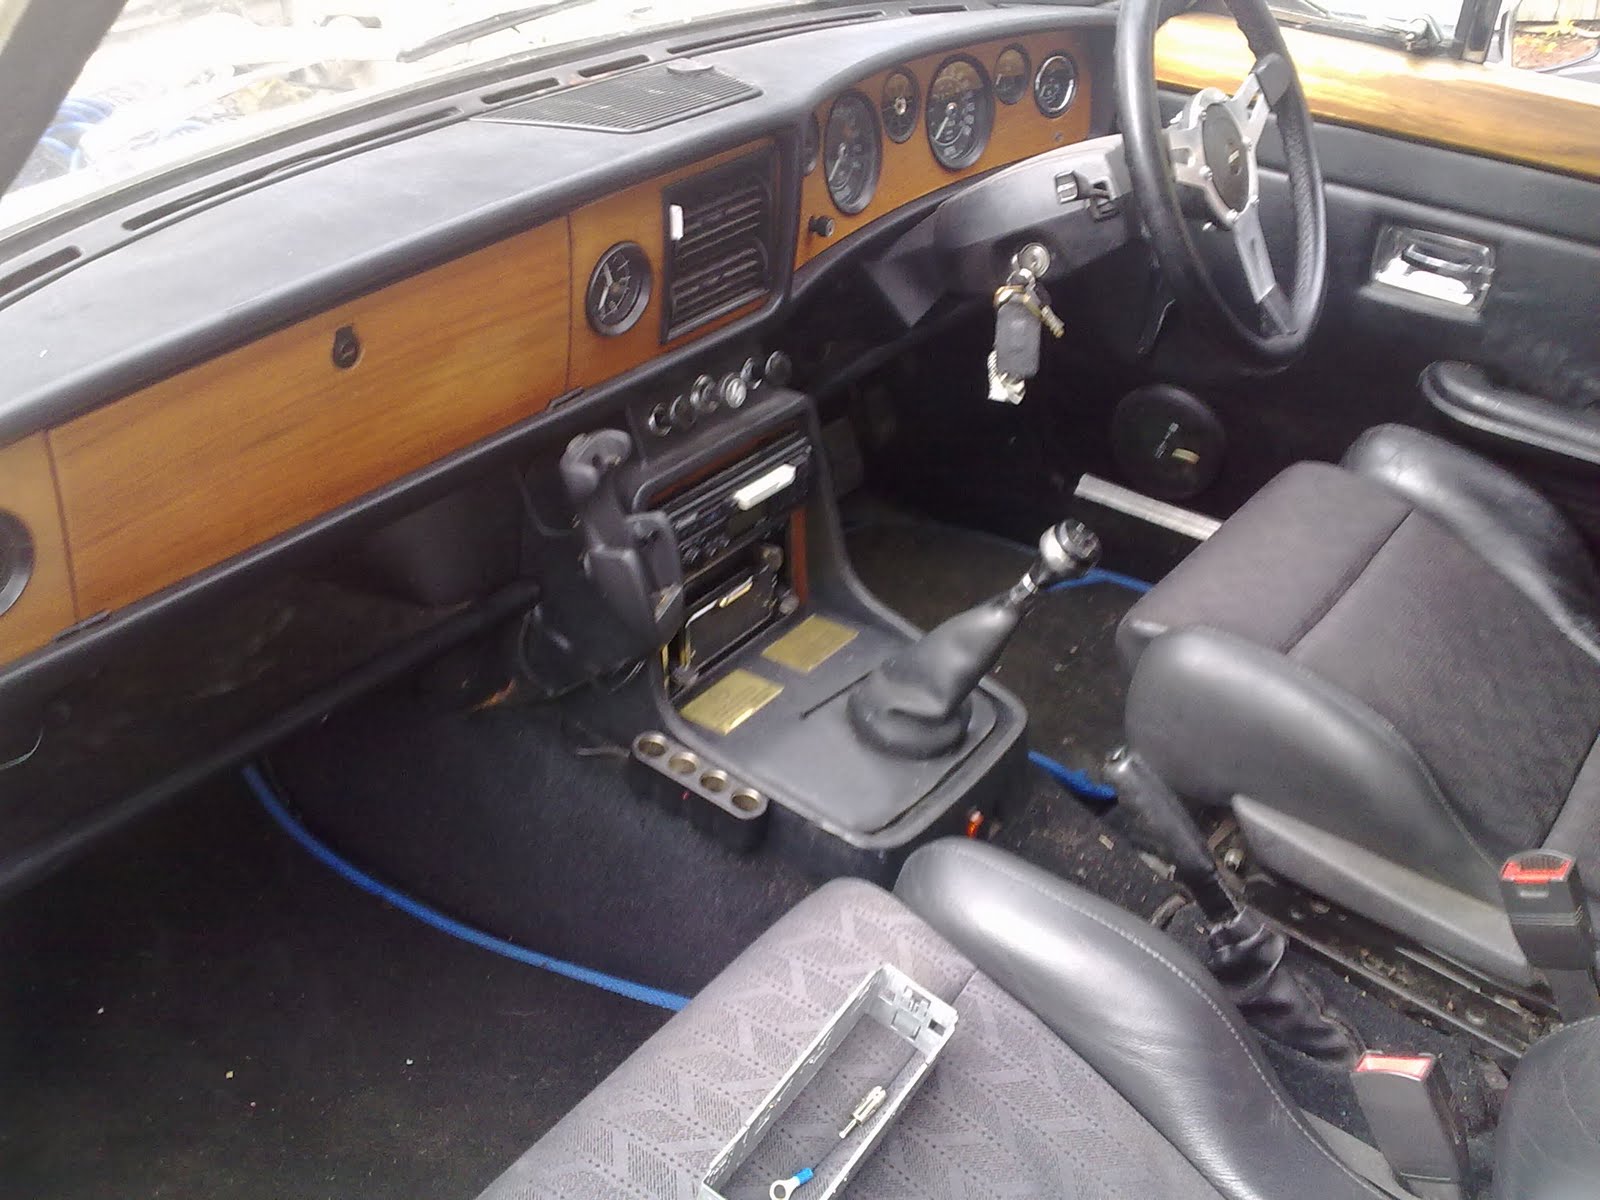
 After the meeting unit was reset, and the broken rack clamp sorted it was time for a but of cleaning. Wash, polish and a good interior valet and it looks excellent and shiney!
 Meanwhile, Dave was puzzled by a spark plug and usually "just wopped them in"......... I had to explain about plug gaps and intervene prior to him fitting them!
 Whilst I was distracted helping Dave, Bradley started polishing the wiper arms........... that boy needs help!
 But, his work did not go un-noticed................ clean PI !!!
 A few stickers later and its almost ready.
 Then a quick trip to Brian's (most of you will recognise this ramp as the one that the V8 Estate is being built on!) as he had the equipment to weld up the huge crack in the stainless exhaust. I can hear myself think now! We thought that was it and we were ready..................

But, on the way home, one injector stopped working and the flasher relay packed up........... more to do tomorrow now!

Sunday, 19 September 2010

RBRR '10 Prep

So, the PI arrived home........... but the engine was in pieces and in the boot. Good start! The head was off and stripped due to excessive valve guide wear and we just didn't have the time to get it done properly. Luckily I had a spare PI head in on the shelf (like you do!) so we decided to bung that on and get it running.
First things first, cleanliness is next to godliness........... well nearly, but it needs to be clean when you're doing a head gasket. The block face was cleaned (yes, I did plug up the cam follower holes first!) then finally cleaned with thinners to get it sparkling.
The head studs were covered in gunk. Quick whizz on the wire wheel in the bench grinder (my favorite toy!) and all is peachy! Please note, all these photo's taken by my able assistant Bradley (also RBRR '10 co-pilot. Greatful thanks for the help, stubby fingers, coffee making, tool fetching, cleaning and of course the odd photo here and there!)
Clean and shiney......... who says I have a problem?!! Anyway, when they are this clean you can just wind them in by hand! Simples!
Also, the head was checked and cleaned up......... although as it turns out, not checked well enough. We don't have photos as it was terminal sense of humour time, but............. once we got the engine assembled and fitted the rocker shaft, it snapped a rocker arm. Caused by the valves which had siezed solid on 5 chambers. So, head off again, valves out, cleaned, de-rusted, lapped in and refitted........ so there was a 24hr time delay between some of these pictures......... but you get the idea!!

Head case or Head gasket? Answer on a postcard too........................

See, they do wind in by hand if they are clean and shiney!! That's my excuse and I'm sticking to it!!

As I mentioned earlier, this is take 2............... after a minor bit of adjustment!

Soon comes together.

I hadn't realised how bold this logo was on the back of my spannering T shirt!! Good quote though!
Finally, its all back together and working. Needed some new throttle return springs, the inlet manifolds were out of alignment so it ran like a pig and only 3 injectors were working, but with a few tweeks and plenty of swearing it ran like a dream!
Moving on to the next weekend.............. had it running for about 30 minutes, retorqued the head, reset the tappents, did and oil and filter change, changed both front wheel bearings, topped up the gearbox and diff oils, greased every nipple I could find (fnarr!), wired in the fogs, re-wired in the spots, put back the battery clamps, air filter housing and strut brace. Meanwhile Bradley handled the important parts. He fitted a stereo and some rear speakers! Top job! Checked to make sure the ipods worked and all is looking rosy for Team 81 on the RBRR!
Just needs a good clean!  So, MOT on Monday evening and then it just needs a tax disc and some miles! It still runs a bit strange, feels very hesitant but I think its just down to the fueling. Checked with Andy Roberts today and I've set the metering unit clearances too tight (only 3 thou out, but that makes all the difference!) so I'll re-do it and if its still not right I may be taking a trip to Reading next Saturday to get it set up by someone who actually knows what he's doing!!!
Needs a pair of wiper blades, and we're going to do a final oil and filter change and put some decent VR1 in before the off next Friday!! (oh, of course, a wash and polish too!, didn't think I'd forget that now did you?!)

Sunday, 5 September 2010

Couple of new additions to the family

Been away for the week on holiday. Started out at Weston Super Mare for the Bank Holiday weekend, then on to North Devon for the rest of the week. Now totally chilled and ready for (almost!) anything. Weston super Mare is/was the home of Atlantic Garages and my new best friend Ian "Del" Lines. I thought I ought to go and find where my car was built. The garage has gone and been replaced by some retirement apartments, but they kept the name "Manilla Place", which is like a small mews off the main Atlantic Road on the seafront in Weston.

You can just see the new buildings in the background behind the red car, the bar on the right is still called Atlantic Bar............. this was where my baby was built!

Whilst in Devon, we found the first of the new additions to our family. Meet Alfie. He's a 6 week old Cocker Spaniel puppy, and he is adorable! He's too young to be taken from his mother at the moment, so we've got to go back to Devon in about 3 weeks to collect him. He will be the ideal playmate for our mad Border Collie and we're hoping it might calm her down a little!!

So, home and unpacked...... time to go and get the 2nd addition. This is the car that I shall be doing the 2010 Round Britain Run in, in 3 weeks time!! Gulp. Engine in bits, singing wheel bearings, no MOT and needs a good going over and service............... this should be fun!

My trusty A frame and the Audi made short work of hauling it the huge 4 miles home, and now its tucked up in the garage awaiting a large delivery of bits!

Latest news on Libby................. bodywork done, due in the paintshop next week!

Sunday, 15 August 2010

PI gone...... sob!

I agonised over this for months............. but, the PI had to go. I just didn't use it enough, it was far too good for what I wanted a Triumph for, Sam didn't like it and I needed the space.......... so, it had to go. I only got it back from the paint shop the week before after it had both sides re-painted due to the paint going a bit thin on  a couple of doors and some minor rust on the bottom of the front wheel arches.
I was really impressed with the work from the paintshop. Wrighton's of Redditch for anyone who wants to know. Top job, good price and the colour match is excellent. I put an advert in Six Appeal and on the CT website and on Piston-Heads. Within 48 hours I had had couple of low offers, but a call from a lovely chap who was a professional Stag dealer who wanted a 2500 for himself was the winner. He spent quite a lot of time looking over the car and made an offer which suited us both.
The car was going to his house in Cornwall, so rather than a long drive, he elected to have it collected and delivered south on a truck.


And then, my beautiful PI drive out of my life in a cloud of diesel smoke...........
As I saw it drive away I nearly chased after him with a change of heart................ but, logic prevailed and off it went. Sob.

Sunday, 18 July 2010

Setting Door Gaps and Sunroof

Spent the day on Saturday at Brian's doing some fettling work. Grateful assistance from Bradley, as usual, hanging doors is much easier with 2! So, first things first, new hinge pins for the drivers door. The door was loose and the top pin was broken, causing the bottom one to wear badly. 2 new pins, and the door now works!
The rest of the car was now in bare metal, but all of the doors were off....... time to re-hang and set the door gaps. They were pretty horrible before, and much time was spent door on/door off/door on/door off until we had the gaps set just right.


The only disappointment was the new passenger side rear door. We bolted it on and its just totally the wrong shape and size! Not enough metal at the bottom, too much at the top. We considered the time it would take to remake all the sides and wire roll them, versus the time it would take to repair the original door which fits very well. Its only the bottom 3" of the skin that needs replacing the frame is perfect and in the end this is what we decided to do. Over to Brian to make up the new skin repair section now!....... hence why in the photo below its the only part of the car not in bare metal!
Both sides are now finished. The passenger side sill was no where near as bad as the drivers side. Only needed minor repair work to the front and rear strengthener and a new outer sill. The pulled rear arch was pretty bad, just like the other side, but thats now all in new metal and lead.
The rear valance had some dents in, which are now tapped out and leaded. 2 new holes were drilled in the lower valance to take the twin electrics of the towbar wiring (originally had only one and in a silly place!)
Now time to look at the sunroof. It is fitted with an electric steel sliding "Helandia" sunroof which was fitted by Bristol Coachworks. We were very concerned about this as the roof swage lines had been removed and judging from the previous bodges we found........ gulp! Also, the electrics had not been tested. All we knew is that it didn't sit shut properly, but it didn't leak. We found the power feed for the roof (unfused!!!....... that'll be changed then!) and powered it up from a slave battery, held our breaths and pushed the switch............ gentle hum of a motor and it slid fully open!!!! Ooooooooooooooooooooooooo yes!!. It won't shut though!!
So, with the roof open we could remove the rest of the vinyl roof (still no rust found!) and the tired black headlining. This revealed the conversion and some interesting fitment details. We were hoping to be able to drop the whole "cassette" out and work on it.......... only to find that its actually bonded to the roof and the metal bent round it......... so, its staying put then!
After much head scratching, we eventually found the hidden screws that allow the whole sliding section to be removed. Allowing the top bit to be trimmed in Vinyl and the bottom bit to be trimmed with the new headlining. We found all the relays and electrics and we think after some testing, its just a relay playing up, so it should be an easy fix. Powering up the motor directly and it works (open and shut) just fine.
So, finish of the rear arch, finish off the front arch, but more lead work and then its off to the painters!

Wednesday, 30 June 2010

Bodyshop update

Popped into the bodyshop yesterday as I had the day off work, winding down from holiday before I go back! I needed to drop the new rear door in, and was greeted by the sight of a nearly bare metal shell! The paint work had lots of microblistering in, and we decided it would be best to bare metal most of the car just to make sure there were no nasties under the old paint.

Interesting to see how the car was built. The whole of the top of the rear wings is lead....... very careful paint removal here, don't really want to have to re-lead the whole car!
Some big dents in the bonnet. Badly filled, now tapped out and leaded and looking as good as new! Strange, a blue bonnet underneath the red paint...........secondhand original?

Sill finished and leaded........... the door shuts are PERFECT now.......... they look wrong on here because they are not bolted in, just resting on the catches!!
Detail of the repaired flared rear wheel arch....... now all metal and lead as opposed to filler and rust!
Also got to see the newly built radiator....... nice job! Brian's keeping it as he needs it to make up the missing mounting bracket for the bottom mount...... looks like Del only fitted one bracket rather than two........ bodger!

Friday, 11 June 2010

Update from the bodyshop and a little trip out!

Its slow going at the bodyshop........ always knew it would be though!! This job is being fitted in around other more expensive jobs to keep the costs down. (thank god!!)

So, one side it now done. Rear arch has been rebuilt (properly, undoing the Del Lines Bodges as we go!) Now all metal and lead, rather than little metal and loads of filler!

Sill is on, just a small repair to do on the front arch where the big dent was. In an ideal world, it ought to have new front half wings. But, being as they are not available at the moment, and I can't afford it either we have elected to dig out the rot, patch and lead them up. In a few years time, they will probably want doing and by then half wings should be back available.
Also had a little time to play with the Radiator. The original car had a MKI engine and a MKI Radiator (Stag units of course) and being as I am using a MKII engine and MKII cooling system, the filler neck on this is too long and fouls the bonnet. Andy modified his bonnet, but he lent me the original radiator from Janey and it has a modified neck. Slightly shorter and over to the side a little....... so everything clears nicely.

You can only get shots like this when its up on ramps and theres no engine in....... you can see where the problem would have been. So, easy fix, we had this radiator rebuilt with a modern 4 core in is, new sides and reused the original top. Looks very nice (so I'm told, havent' actually see it yet!) and at £150 its about the same as a standard 3 core exchange rad.......... bargain!
So to the little trip. The one door on the car that is bad is the nearside rear. Estate doors don't come up very often so we were going to have to re-skin it................. that is until I found a factory original brand new estate rear door on ebay!! Had a bid and won it for £30!!! (seriously, £30!!!!) Only problem was it was a little jaunt to pick it up. So Wednesday evening saw Sam and I walking down the beach............ so come on clever people, where was I?
Fish 'n' Chips for tea................ mmmmmmmmmm.
And after lots of miles........ one brand new rust free perfect Estate rear door!!

And for those who don't know, Redditch to Brighton and back in an evening is a VERY long way!!