Sunday 3 November 2013

More trimming and gluing!

Thanks to Ted Taylor for the spare rubbing strip that I was missing. I cleaned it, shortened it and popped it in to complete the back cover for the rear seat. Interestingly, when I was trying to work out the best way to shorten the strip, I looked at the originals and they all seem to have a "hand finished" look at the end, much like a whittled down pencil. I concluded this was probably how they did it at Carbodies, so I took my stanley knife and whittled away! It looks just as good (or as bad!) as the originals now.
 Next piece of trim, one of the sections of the boot floor. Same as all the others, dull aluminium strips, dirty rubber infills, awful carpet.

 Remove the strips, drill out the pop rivets and pull of the manky old carpet.
 It was fairly easy to measure, centre and glue the new carpet into place. The corners are more of a challenge and this piece has a strip of vinyl to tuck under for the spare wheel section.
 Whilst it was drying I polished up the aluminum strips, cleaned the rubber infills and then reassembled the whole thing. It does take time to do this right, this piece took about 2 hours from start to finish, but I think the end results are worth the time.

 Next was to fit the trim board to the back of the rear seat. It slots into place and is held in place by 6 screws. These are right at the edges, hence before I couldn't glue the whole things down. With the screws refitted I could then finally glue down all the edges.

 Put that piece to one side to dry and I started on the tank cover. Same as usual, horrible original faded carpet.

 I did the tank filler neck cover first, this was probably the easiest bit I have done so far!

 This bit was interesting. This piece has a metal ledge pop riveted on to support the next trim piece which is the spare wheel cover. The vinyl wraparound has to be sandwiched between the board and the metal plate, whilst keeping it in the right place. Tricky, but I think I got it.

 I could then glue and pull the cover over onto the front, and then trim the corners. Glue EVERYWHERE!
 This piece will take some drying so I put it away to dry overnight. Light was fading at this point so I deiced to fit the rear seat and the trim panel behind it to get them out of the way and somewhere safe. I decided the car was probably the safest place for them. I am so pleased how this looks. Its been alot of work to get to this point and I think it looks superb. I'm sure a professional trimmer could have done a better job much quicker, but the satisfaction of doing it all myself was worth it.


Sunday 6 October 2013

Rear Seats

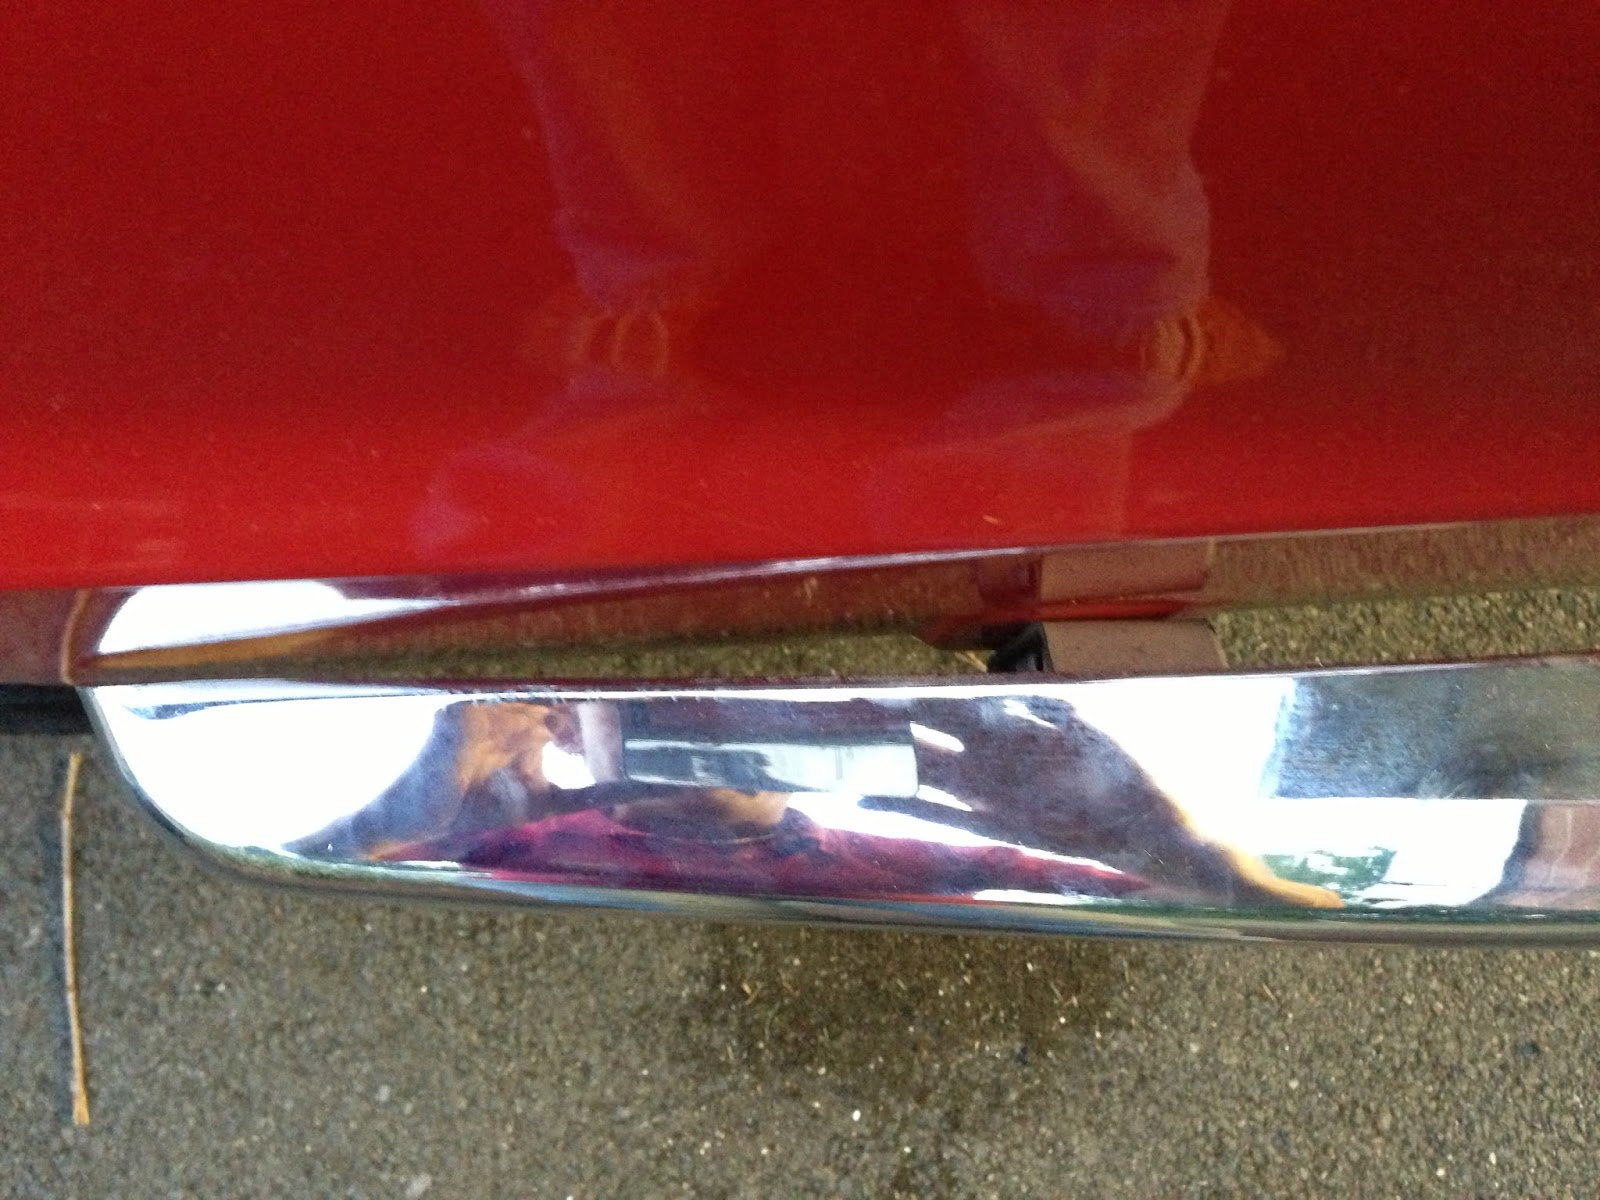
Had this afternoon working outside on the car. Glorious sunshine meant I could get on with some bits! First of all I got out the angle grinder and cut some slots in the zinc plated metal spacers I found. Then pulled the quarter bumper away, slotted them in and tightened up the sides. Bumper is now fitted as best as I can get it.
 Then it was onto rear seat belts. I had bought a set of Securon 264 belts as discussed on the Register Forum as being long enough to fit them "CRAJ-HOE" style!
 The centres were easy, the original blanking bolts I had already undone a few turns and left to soak for a few weeks.
 I had bought some FIA spec seatbelt spreader plates to put under the inner arch. I measured off Colin's picture and put them where I thought best. Drilled some holes, put the plates on and tightened them up. Then removed the blanking bolt from the inner arch for the other end and finished bolting them in. Last job was to rotate the dials to bring the locking mechanism into play so they retract properly. I just hope they are long enough to go around the child seats!!
Then I could clean and refit the lower seat base. The carpet on the underside of this is perfect, so no point disturbing it.
 The carpet on the back of the seat back on the other hand........ euw!!! So, time to disassemble the rear seat. Lifting the edges of the carpet reveals 6 screws which hold the back board to the seat. Undo and remove the rear trim board.
 ........... to reveal the original manufacturer's sticker!
 Then removed the rubber trims from the alloy frames, and then drilled out the pop rivets holding the trims to the wooden trim board.
 Flip it over and then undo the 4 set screws and nuts that hold the chrome catch plate to the board. Undo the clevis type pins which hold the catch to the pull cord.

 Then remove the carpet from the back and chuck it in the bin!!!
 The new repro carpet fits quick nicely actually. Its even bound on the edges, pretty good considering the issues I had with the main carpet sections! I fitted and centred it, then folded and glued one half,
 then the other half to keep it all square.
 Now comes the time consuming bit. Polish the alloy trim, punch the holes from the back, line up and pop rivet back into place. The fit the rubber trim. Not quite as exasperating as doing door seals, but pretty close!
 I find that I am one short trim piece missing, anyone got a spare short rubber insert going?
 Almost finished, chrome catch refitted. Just got to do 3 rubber trims, but time was getting on and dinner was calling!

 All in all, a good productive day!

Monday 2 September 2013

Wiring the Alarm and carpet painting

I managed to grab an hour this evening, don't the nights get dark quickly now! Still, managed to get a few things done. The next trim pieces inside to do are the sides of the front footwells and the parcel trays. Before I fit those I have some major wiring to do behind them, so I started that this evening.
The wiring is for the Alarm/Imobiliser and Remote Central Door locking system I am fitting. Running wires behind trim is always a pain, so easier to do it now before I refit them. First up hiding the wires for the infra-red sensors on the A posts.
 Then I found the ideal place to put the Red flashing LED. There was always a hole in the grill top and there is no speaker there due to the advanced "Quad Speaker System", so I popped it in the hole. Better then drilling another one I thought!
 Then I have this to deal with!! I need to find all sorts of feeds and connections so its just a case of working through each wire and finding a neat route. Looks awful, but its not finished yet!
 With the light fading I put another couple of coats of black carpet dye on the rear arches. They look so much better and nearly close enough I think.

Monday 12 August 2013

More carpets and rear bumper (again!)

Monday evening spannering session! Managed to get to the Bolt Shop, and bought a few bolts I was missing. Got the missing one for the passengers seat, needed to be a little longer due to the extra layer of underlay I had put under the carpets. Popped the passenger seat back in.
 Moving on to the rear section, timmed and glued down the final side piece on the sills on each side, then put the rear treadplates back on. Still an awful fit, but 90% of it will be hidden by the rear seat.

 Next was the old problem of the rear arches. The original stuff is formed into a curve, the repro rubbish is a flat piece of carpet. When I stripped the car the rear arch carpets were in very good condition, but faded from black to a light brown (they all do that Sir,..........!) but, knowing how bad the repro stuff is and not wanting to tear them, I decided to leave them in place and mask them up during the whole process. Now they have been cleaned, they are still as good as I thought. So, a couple of light passes with a spray carpet dye, and we are getting somewhere. Another couple of coats needed but you can see where I have done, and compared to the black carpet next to it, its pretty close after 2 coats.

 Now onto a job I have been putting off for ages. When I put the towbar and rear bumper back on just before the NEC I knew something wasn't right, but couldn't put my finger on what it was. I then realised that the bolts that hold the towbar drop plate to the bar where the wrong size, too small and the bolts allowed the whole assembly to move. Not good as I am going to tow with this. But, getting the rear bumper to fit was a right pain due to the flared rear arches and I wasn't looking foward to taking it all off again. Bradley popped over to help as its really a 2 man job. These are the offending little bolts.
 We whipped the bumper and bar off, changed the bolts and then popped it back on.

 For some reason, this took about 4 hours last time we did this, this time........ 15 minutes flat!!! So much better, no movement, larger diameter bolts that fill the holes now. I am feeling much happier about this now.
 Next problem. As we tighten up the bolt to the quarter bumpers, the leading edge is getting closer and closer to the bodywork. Its all due to the flair of the rear arches and we had to stop before it was tight as it was going to hit. What I need is a couple of small spacers to drop between the body and the bumper bracket to hold the quarter bumper off the bodywork. I am NOT going to remove these bolts again, so I planning on getting some square section zinc plated steel with slots cut in so I can pull the bumper out, slot them over the bolt then tighten them up to hold it secure.

Restoring modified cars,............... sigh.......... one step forward, 3 steps back!!