Saturday 31 December 2011

Stub axle.... take 2 !

Went to see Ted Taylor yesterday and collected the replacement stub axle. In the end we decided it was pointless trying to swap the stub axle, it made more sense to just clean and paint the other spider..... save putting it under any undue stress. Anyway, thank you Ted...... much appreciated. Spent a pleasant few hours talking Range Rovers, doggies and Triumph's!
So today, I cleaned the unit up and then it had a couple of coats of paint..... then hung up to dry.
 Whilst I was in a painting mood I also cleaned and painted the bonnet catch assembly..............
 ................. and the Servo cover.
 Mike Weaver had very kindly donated some good exhaust manifolds. The ones supplied with the replacement engine were cracked and the threads in most of the stub holes were shot. Mike gave me a good pair (originals off the 4x4 estate as he he having custom headers built). I stripped them down, wire brushed them and inspected them. All the studs are good, so on with the next process. I made up a few gallons of Bilt Hammer Detox rust killer and dropped them in to soak for a few days...........

Thursday 29 December 2011

Fame again!

Got my January 2012 edition of "Triumph World" through yesterday and whilst reading it I found myself in print again!! Simon Goldsworthy (Editor of TW) had contacted me a few months ago as he had an email enquiry from Scott Davison of New Zealand about my car. It was featured back in 2003 when Mike Collins first bought it, and he was wondering what had happened to it. I replied to Simon, and he printed both in the mag! So, if Scott does read this........ Hi Scott, thanks for the interest, get in touch of you want....... easiest way might be to join the Discussion forum on the 2000 Register website and I'm always on there!!

 So, back to Libby. spent an hour stripping down the nearside front hub, to get the spider and stub axle assembly out. It's easy when all the bolts are either clean or new and assembled with copper-slip! So, tomorrow I'm going to see Ted who has a new stub axle for me and the right tools to "persuade" the old one out!!  Still can't quite believe I snapped the end off with a normal nut in a socket!....... must be stronger than I thought!


Tuesday 27 December 2011

One step forward, two steps back!

After a long walk in the park, all 3 girls were fast asleep on the sofa.......... so I spent a couple of hours in the garage. First up was to put the rebuilt PWDA switch on the inner wing........ job done!
 Then I fitted the new poly bush for the lower steering column.
 Then the rebuilt rack and repainted steering link arm could go on. Sounds simple, but took ages to get everything lined up!
 This meant that the offside front suspension is now finished (bar fitting the pads!) and the Anti-Roll bar.
 Then came the disaster. Whilst fitting the new nut to the end of the stub axle (the one I lost last time!) for some reason is went tight, then end of the stub axle sheared off!!! I have never seen this before. So, I now need to strip down the front nearside suspension again, and replace the stub axle!!!!


Sunday 27 November 2011

I'm Back!! (again!)

I'm back!! Not that I've been anywhere, but I just have not done any work on the Triumph since about June! Most of you know why I have been "distracted", but for those that don't the picture below should speak volumes!!
 Anyway, back to car-stuff. I got a little carried away with needing some more space now having 2 children, and the Audi A4 estate is not as big as you might think! So, short term temporary experiment to see how we like living with a gas guzzling 4x4, I bought a beast of a Range Rover. Classic softdash LSE with the 4.2 litre engine, on gas. Awesome, simply awesome........ if you can put up with the terrible fuel economy!
 So, after a visit to see Mike Weaver yesterday, I don't know whether he shamed me into it or whether it was just the injection of enthusiasm I needed. So this afternoon, after the girls and I had washed Peppa the Range Rover and "Freddie" the Focus ("George", the Audi didn't need doing!) I dusted off my spanners and had a look at the Triumph. Took an hour of so to remind myself where I got to, and to find all the bits! But, a couple of hours later I had 90% of the nearside suspension assembled.
 All I need to do to finish the front now is to order a new stub axle nut (got knows where it went to!), then I can attach the one outstanding steering arm, then the rack can go in, anti-roll bar on, couple of brake pipes and the front will be finished!
Despite the fact that 2 hours in the garage is now making me hurt all-over (lack of practice!) I have now found that not only did I enjoy it, but I'm ready for the next bit now!!
More later, hopefully after not quite as long a gap!

Sunday 15 May 2011

Front Suspension

Friday evening saw me in not so sunny Doncaster with Colin. He offered to build up m front struts for me as he had just done his and could remember what went where! He also very kindly donated some better strut tops and the new thrust washers. So, couple of hours in his garage and they were done....... Pizza time!!
 New shocks, new gaiters, new strut top bearings all in nicely powder coated shock tubes, cups and springs............ pretty!
 This morning saw me fit the x-member and bolt it up, the I could start putting the suspension together. Spent what seemed like most of the day getting the powder coating off the mating faces and out of all the bolt holes! But, it went together pretty much ok.


New Stag discs and calipers, fully poly bushes, new ball joints, new bearings, all assembled. Just got to do the other side now, then fit the rack and do the brake pipes.

Sunday 8 May 2011

I'm back!

I'm back!!...... did you all miss me?....... no, didn't think so!

Had a bit of time off from the car, spent my time doing jobs round the house, going on holiday to France in the caravan and various other bits and pieces that just took up all my time........ but, back to the job in hand now!
Masked and shutzed the last wheel arch. What a messy job, I@ll be glad when this is done! Just the floor pans to do now!
 The rack was rebuilt thanks to EJ Wards. Being as it was a low mileage car I wanted my rack rebuilt rather than exchanged so it took a little longer than usual. Quick coat of paint and its as good as new.
 All the front suspension is now back from the powder coaters. I borrowed Brian's press and pressed the new bottom ball joints into the lower arms and fitted the new polybushes.
 The front crossmember, now powder coated, needed some minor assembly. Rubber bump stops to be refitted and new steering rack bushes. These are the only bushes on the car that are not Poly. I don't like the poly bushes in the rack, I find it gives too much "kick" to the steering, so standard rubber bushes are in there now.
 Then, polished up and refitted the gutter trims on the offside, and 2 of the door trims before it was time for dinner. Not bad for about 4 hours work this afternoon!

Saturday 2 April 2011

Small parts painting, shutz and a bit more chrome!

Cleaning and painting some smaller parts today. The front suspension is not back from the powder coaters yet so I'm a bit lost for things to do! Had lots of little things to do, so I thought I could do the odd bit and then move around as things dried, waited for re-coat etc. So, out with the bench grinder and cleaned up the other front hub, towbar spreader plate, the handbrake compensator, steering coupling and the two front brake hose brackets. Few coats of gloss black and all is well.

 Whilst I was doing that, Bradley was cleaning bolts for me................. bless.
 Doesn't take long, but makes it so much easier when it comes to put it all back together.
 Whilst the paint was drying, I masked up the front n/s arch (o/s had some rust cure still drying) and sprayed the inner arch with shutz.
 That shouldn't rust again in a hurry!
 Then the postie arrived, with a parcel containing some NOS front chrome horse shoes. They looked sooooo nice I couldn't resist fitting them (again, using the Mike Weaver style with no clips!) then cleaned and polished the 2 stainless steel trims and fitted those.
 New chrome on this car does really look very nice!!

Sunday 20 March 2011

Front shocks and crossmember

Went shopping first today. I managed to break 2 of my big 1/2 inch drive sockets yesterday, so I went to Halfords with the intention of just buying 2 new sockets. After a bit of negotiation and a flash of the old Halfords trade card, I ended up buying a complete new Halfords Professional 1/2 drive set. Bargain price and its really good quality (plus another drawer in the cabinet filled too!)
 Took out the rest of the suspension, mainly the steering rack and crossmember so the front is now totally empty and ready for cleaning and shutzing.
 After a few hours of fiddling, the front struts are apart. Springs new powder coating, shocks are shot and the strut tops are unbonding. Thanks to Colin Radford I have a set waiting for me in Doncaster to collect so I just need some new thrust washers and gaiters and those will be ready.
 Once that was done I then stripped the crossmember down. Lots of small rivets holding the brake pipe clips to it (Stag system, so the n/s front brake pipe goes under the engine rather than behind it), the steering mount bushes (little swines those are I can tell you!) and the bump stops......... now it just needs powder coating.
 Also stripped the tow bar down, so I now have a pile of bits to go to the blasters. Still need to get the ball joints out of the track arms and the seized bolt in the steering arm to hub so a trip to Brian's and some serious heat and a 10 ton press and we should be fine!

Saturday 19 March 2011

Front end stripping

Time to start stripping the front suspension down. Normally, I would have thought a couple of hours would have got this done............. oh how wrong I was! Every bolt was rusted, seized, rounded or just horrible... it fought me every step of the way! In the end, I got it all out with only one bolt holding the steering arm to the spider just not playing..... need to drop that in to Brian's and get some Oxy-acetylene on that I think! Now got another pile of bits for shot blasting, tomorrow I'll strip down the legs and get those ready to go.

 The hubs and spiders I decided not to have powder coated, I just thought there is too much potential to get powder coat where you don't want it. So, I spent a happy few hours with the rotary wire brush until I got them clean...............
 ............. then a bit of masking and a few coats of spray smoothrite and they look as good as new!

In the end, the front end stripdown, excluding wire brush and painting took 5 hours!!!!!! 5 hours I ask you, why do we do these silly things?!?!

Saturday 12 March 2011

Rear finished, bit of bling, bit of polishing!

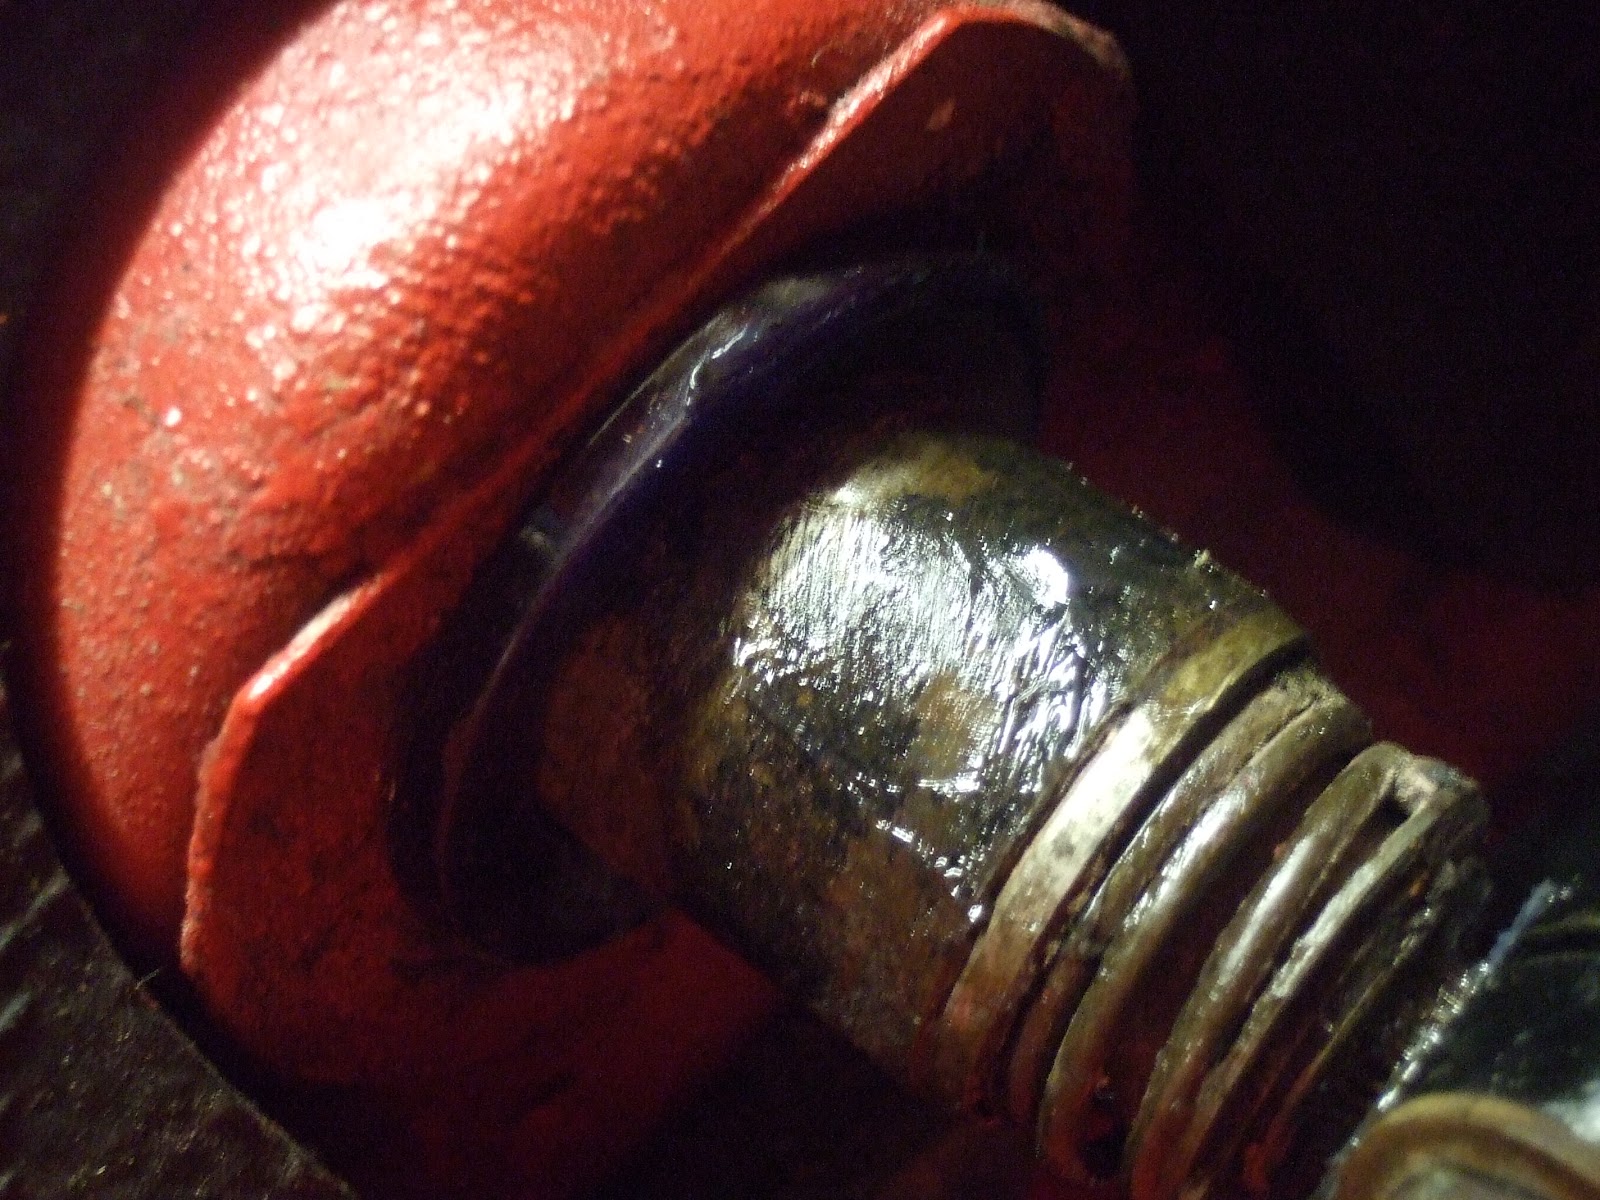
Busy day today. Got the rear end finished. Brakes built up with new shoes, springs and cylinders. New handbrake cable fitted with stainless fittings, Polybush spring mounts top and bottom, new coil over shocks, original powder coated springs, driveshafts coupled up and the brake lines finished.
Even though I'm trying NOT to build a show car, and I blame Mike Weaver for making me do it to this standard, I do have to say it looks superb! Mike is'nt making me do anything, but I love the way his car is turning out and I find myself trying to keep to a similar standard!!
I managed to pick up a rechromed fuel filler cap at Stoneleigh last weekend. Bit of a bargain as there a couple of ripples in the chrome...... not that you'd noticed unless you look closely! Built it up with the original lock and springs, just needs the inner seal, which I'd forgotten about and just ordered off fleabay!
Fitted the NOS number plate lamp chrome trim (another Stoneleigh bargain from Mr Dolphin) and then fiddled and fitted the NOS boot lock.
Then managed to get the new fuel cap in.................. oooooooooooooooo , shiney bits!
Gutter trims next. Mine were badly dented, but a salvaged set just needed cleaning up. The resident polisher Bradley seen here at work with the polishing mop in the bench grinder.
Wonderful little tool this, from crusty to shiney in about 5 seconds!
The concentration on his face............. and they call me "the polisher" !!!!
Gutter trims on one side, had to modify the vinyl roof a bit, needed trimming back about 2mm just to allow the gutter trim to sit properly. Then we lowered the car down, pushed it outside and turned it round.

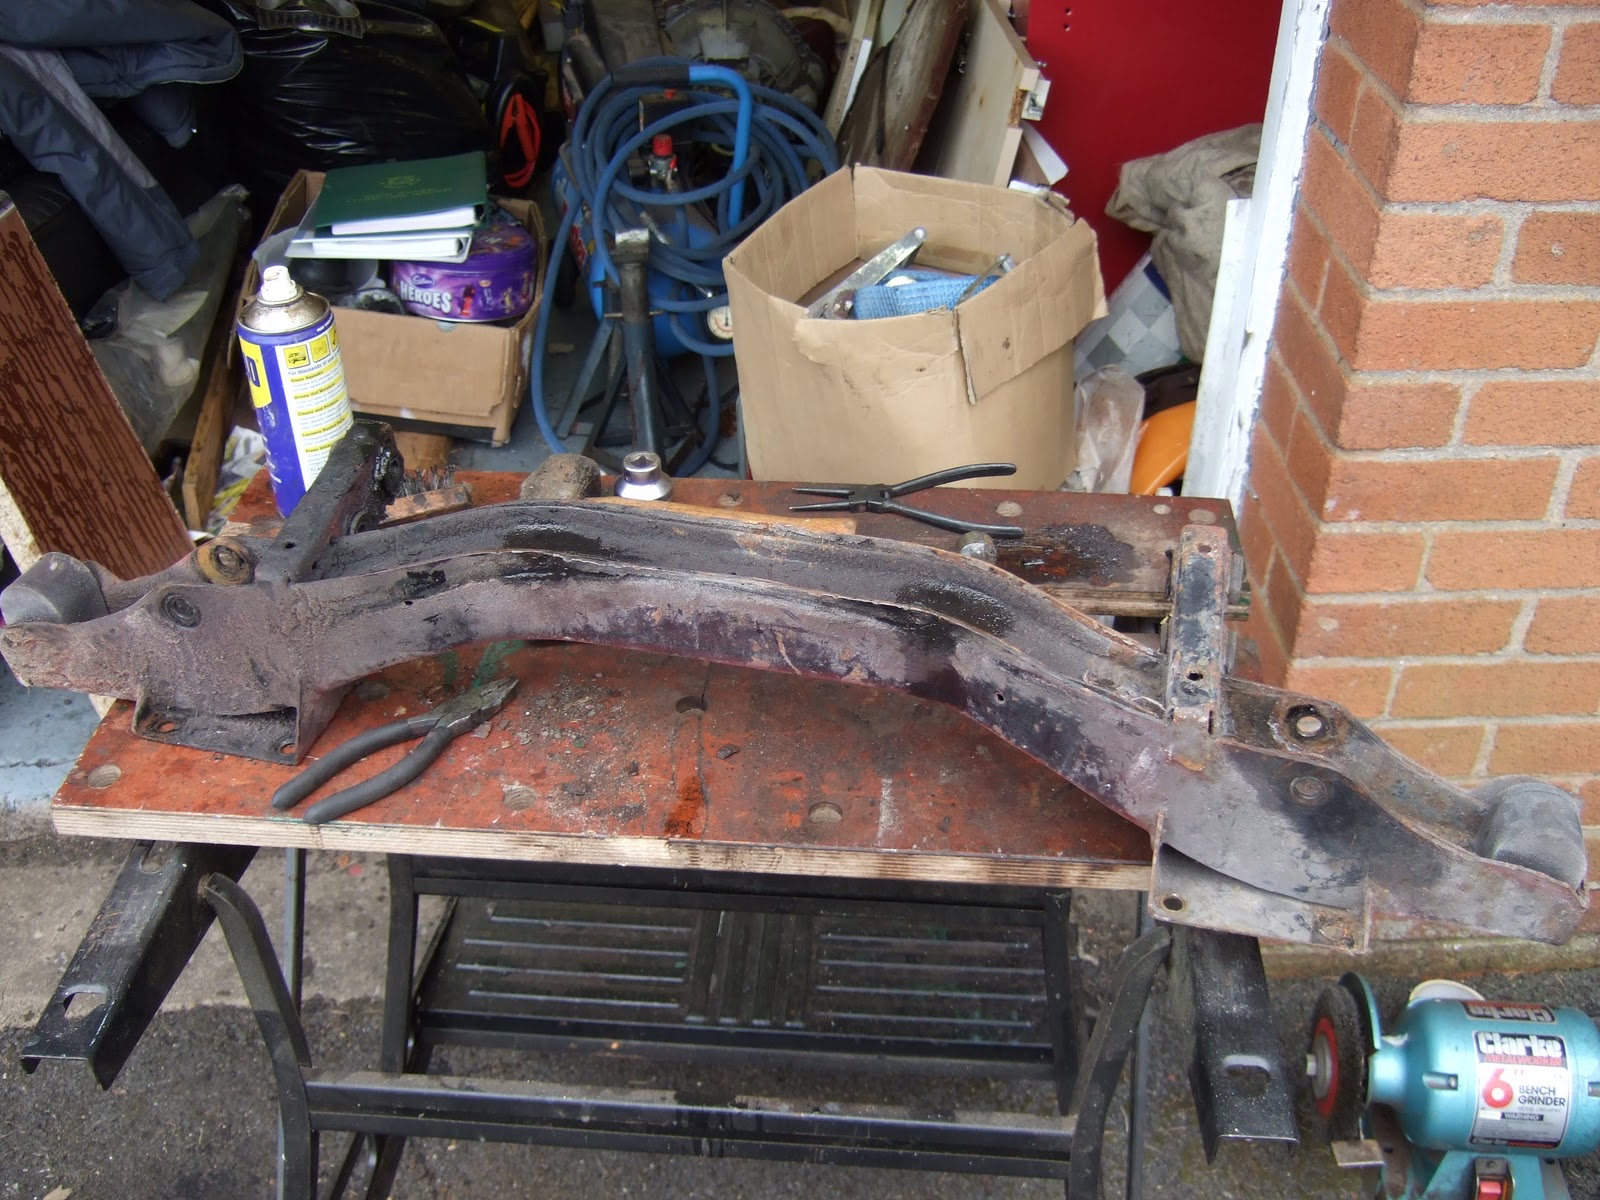
Then got the front up in the air ready to start stripping the front down
Crusty and 'orrible.......... this won't take too much to get it looking pretty.
The discs, apart from having surface corrosion, actually look like they were replaced not long before the car was laid up. No lip at all, so if anyone wants a decent set of MKII front discs that will probably be ok with a light skim, let me know! This is having Stag brakes on the front end so I don't need them.


I couldn't resist finishing off the day with a bit of bling. Bought a leather Mountey steering wheel off ebay, which cleaned up really well (only cost £10!), coupled to an astrali hub I had hanging about, with the front of a stag wheel to fit the badge......... that looks better!