Monday evening spannering session! Managed to get to the Bolt Shop, and bought a few bolts I was missing. Got the missing one for the passengers seat, needed to be a little longer due to the extra layer of underlay I had put under the carpets. Popped the passenger seat back in.
Moving on to the rear section, timmed and glued down the final side piece on the sills on each side, then put the rear treadplates back on. Still an awful fit, but 90% of it will be hidden by the rear seat.
Next was the old problem of the rear arches. The original stuff is formed into a curve, the repro rubbish is a flat piece of carpet. When I stripped the car the rear arch carpets were in very good condition, but faded from black to a light brown (they all do that Sir,..........!) but, knowing how bad the repro stuff is and not wanting to tear them, I decided to leave them in place and mask them up during the whole process. Now they have been cleaned, they are still as good as I thought. So, a couple of light passes with a spray carpet dye, and we are getting somewhere. Another couple of coats needed but you can see where I have done, and compared to the black carpet next to it, its pretty close after 2 coats.


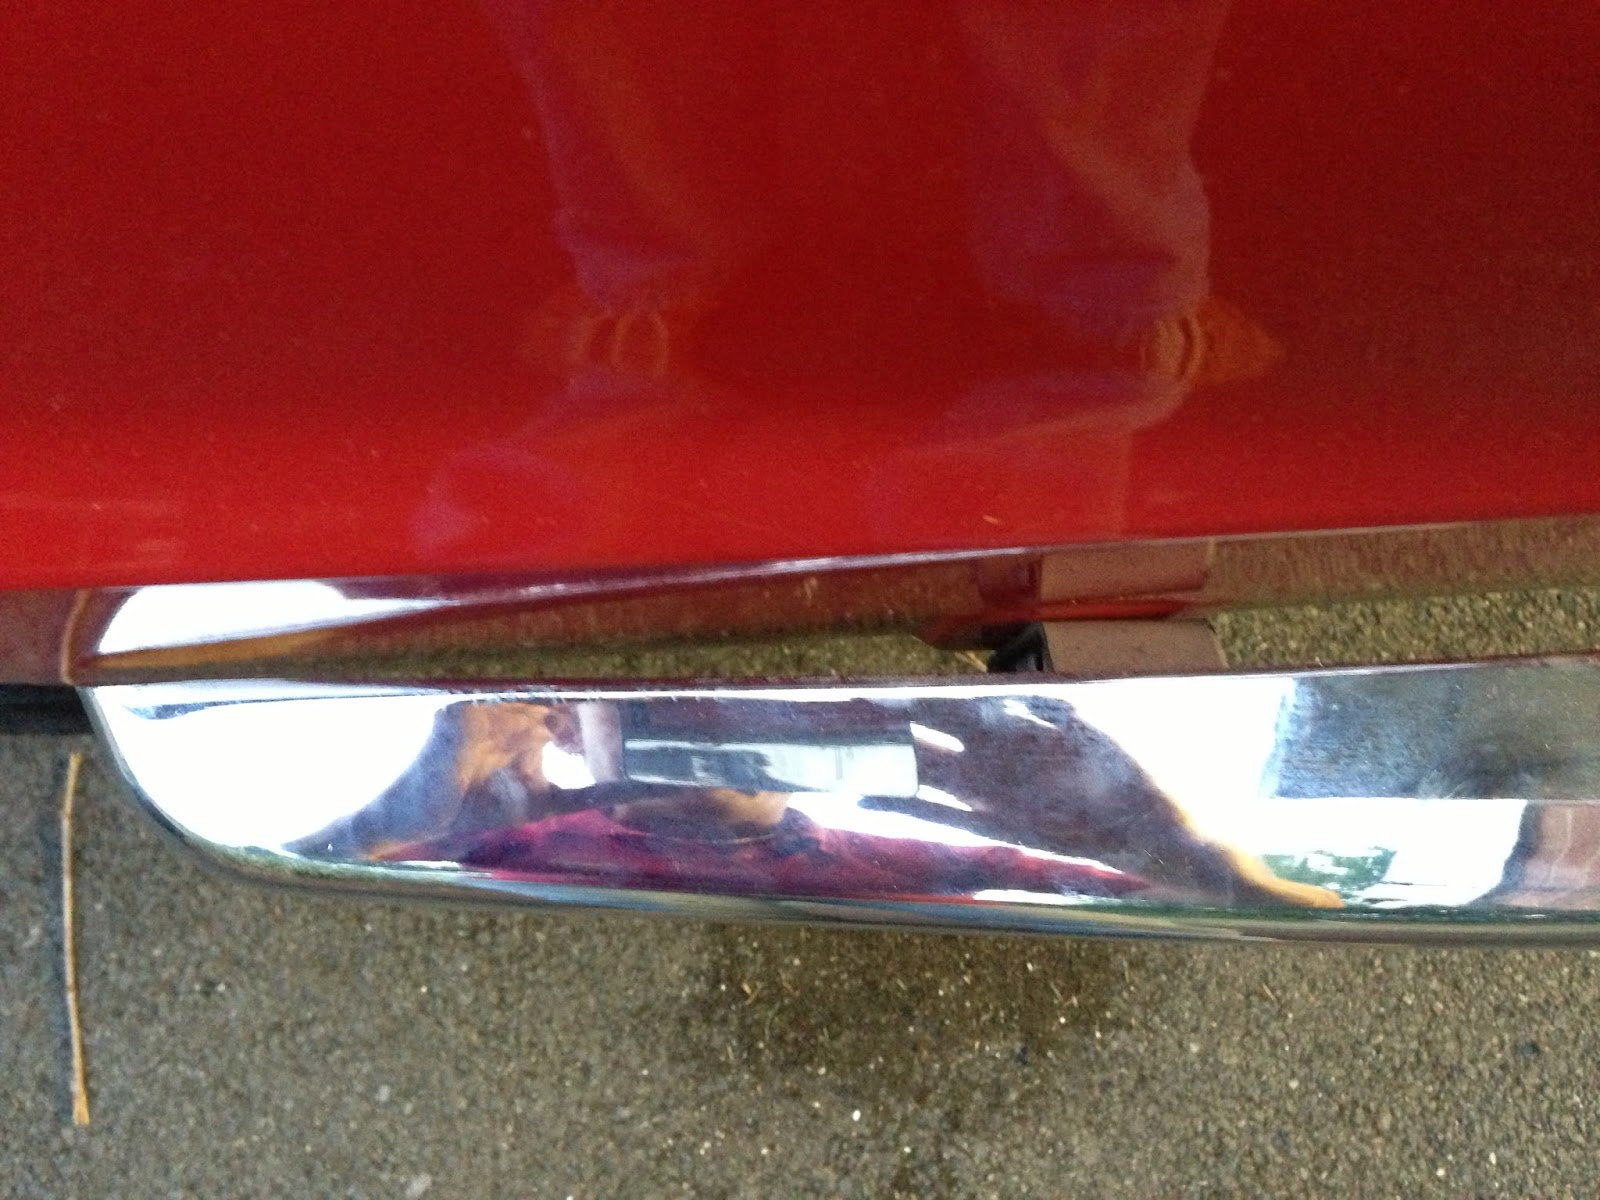
Now onto a job I have been putting off for ages. When I put the towbar and rear bumper back on just before the NEC I knew something wasn't right, but couldn't put my finger on what it was. I then realised that the bolts that hold the towbar drop plate to the bar where the wrong size, too small and the bolts allowed the whole assembly to move. Not good as I am going to tow with this. But, getting the rear bumper to fit was a right pain due to the flared rear arches and I wasn't looking foward to taking it all off again. Bradley popped over to help as its really a 2 man job. These are the offending little bolts.
We whipped the bumper and bar off, changed the bolts and then popped it back on.
For some reason, this took about 4 hours last time we did this, this time........ 15 minutes flat!!! So much better, no movement, larger diameter bolts that fill the holes now. I am feeling much happier about this now.
Next problem. As we tighten up the bolt to the quarter bumpers, the leading edge is getting closer and closer to the bodywork. Its all due to the flair of the rear arches and we had to stop before it was tight as it was going to hit. What I need is a couple of small spacers to drop between the body and the bumper bracket to hold the quarter bumper off the bodywork. I am NOT going to remove these bolts again, so I planning on getting some square section zinc plated steel with slots cut in so I can pull the bumper out, slot them over the bolt then tighten them up to hold it secure.
Restoring modified cars,............... sigh.......... one step forward, 3 steps back!!