Tuesday, 24 April 2012

Horny Carbs!

What did you expect from the title then?!

I dropped in to see my engine builder and after several discussions about engines, spec and timescales, we got onto the subject of carbs. The carbs on his own Stag engine were very worn and mine were of unknown quality (although they look pretty ok!) we decided we both needed our carbs done properly. So, in the boot of my car now sits 2 pairs of Stag carbs ready to be dropped off at Andrew Turner's for him to work his magic on..............
 Also, whilst doing some ebay trawling I found the correct sized triple air horns I need. Libby originally had triple tone air horns fitted inside the n/s front wing. They were still there, but looking very sad, so a new set arrived today. Strangely, there is a separate switch in the car for "horns", but there are no standard car horns connected to the normal horn push. I will put a normal set on the indicator stalk, and leave these for fun I think.

Sunday, 15 April 2012

Horrible Job!

After a walk in the park and feeding the ducks, the girls and Sam curled up on the sofa to watch "Toy Story"........ time for me to work on Libby then!
The new special rivets and screws arrived from Chris Witor last week (and a new Stainless Steel Strap, bolts and rubber gasket!) so I could finish putting the wiper motor in and secure the washer bottle correctly. Job done.... looks nice!

 Then it was time to move to the horrible job........ finishing the Shutzing underneath. When I did the underneath, I did the front and the back separately....... I now needed to join up the middle and do the centre of the sills and the centre of the floorpans. So, bit of marking, then warm the Shutz up in a bucket hot water and off we go........... didn't take long, but its a horrible job!
 Then, it was time to move onto the really horrible job............. Cavity Wax. I had bought 5 large 750ml cans of Bilt Hamber Dynax Cavity Wax which came complete with the special long tubes with spray nozzles. When Brian did the sills he drilled some extra holes to allow me to do this job better, they'll be hidden under the tread plates anyway. So, warm the can up in a bucket of hot water and off we go.
 5 cans later the sills were well and truely coated, the bottoms of all the doors where done, the inside of the tailgate, the inner arches front and rear, plus a few other box sections and anything else I could think of was done.
 However, when I stood back whilst having a cuppa, I notied what I had forgotten....... the sills have holes underneath to allow for drainage, and the Wax was now dripping out all over the drive...... rats.
 By the time I got to do the other side, I thought about it see................!!
 The marks the end of the really horrible jobs, everything should be fairly clean from now on. Next problem.... wiper spindle threads........ buggered. I was thinking I would have to remove the whole wiper assembly again to get to replace it, but after a bit of gentle persuasion from the back (and a small amount shaved off the rubber grommet!) I got the remaining threads to catch and it did up tight...... result!
 Now.......... big roll of polythene...... useful stuff this. I use it for covering and wrapping things in the caravan, (its actually shrink wrap for bricks!) but today it has a different purpose. Now, don't laugh but I remembered when I took the car apart that the rear off side door had no vapour barrier behind the trim panel. This is important as it guides any drips of water from the window seals down to the bottom of the door, and it prevents moisture getting to the back of the cardboard door cards. So, time to make one..........
 Yeah, I know.... not exactly original, but hey, it does the job and it won't be see again so who cares!
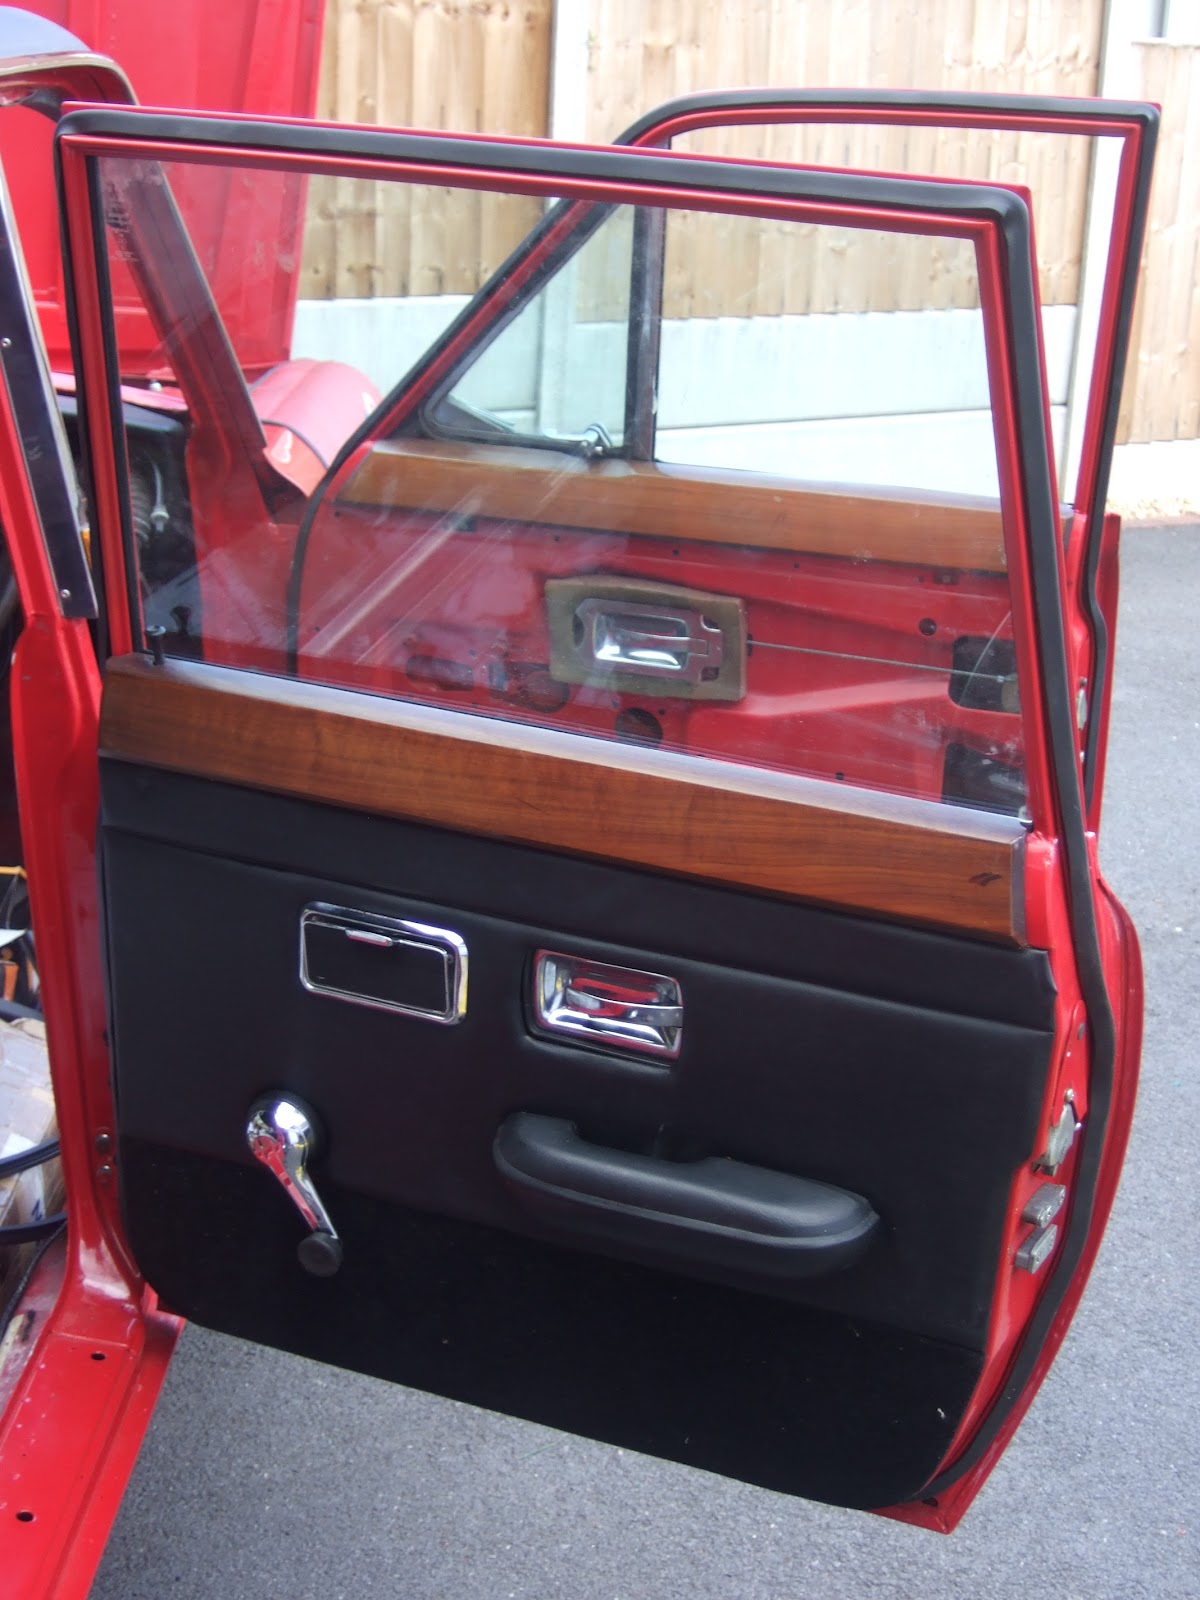
 So, after messing around for what seemed like HOURS trying to get the stupid small pin in to hold the window winder handle on, I can report that one door is totally finished!!   Woo hoo!!
I then fed about another 18" of door seal in on the nearside front door (grrrrrrrrrrrrrr!) then time to go in, have a shower, wash my hair 6 times to get the shutz out of it (!) and then have dinner!
A good afternoons work I think....... quite alot finished today!

Saturday, 31 March 2012

Little bit more..........

Little bits done this afternoon. Managed to fit one rear door seal..... what a swine of a job! the front ones are Witor ones which are excellent quality repro ones, but they are so hard to compress to get in the channel. Total of about 2 hours to do the front door.

Having found the correct screws, fitted the cover plates on the rear doors.
 Fitted the repainted wiper motor, and then popped on the spindle grommits and new chrome nuts.
 then fitted the rear door seal. This is a Rimmers Repro one. Not as good a quality as Witors, but easier to fit...... this one only took an hour!

Sunday, 11 March 2012

Little jobs............ they take the longest!

I had about 3 hours to spend on the car today, and the next two jobs to do are big ones that will take longer than that (estate side window fitting and finishing the shutzing of the centre floorpans.......... so I was on the lookout for some smaller jobs to do.
Found and rescued some trim clips to fit the final piece of waistline trim on the nearside rear door. Fiddly as all of the holes needed careful drilling out, but we got there in the end.
 The rear doors needed the wiring loom for the central locking fitting properly. Drilling and fitting grommets having once fed the wiring up the sill and B post....... again, fiddly and time consuming. Its the small jobs that take the longest I swear!
 I had bought a new big bag of pop-rivets in various sizes so I cleaned up the engine build plate and fitted that. Was going to do the Chassis plate too but it seems to be MIA at the moment............!
 I then fitted the twin (I prefer 4 jets rather than the feeble 2 in the centre!) washer jets to the new chrome grill and fitted that. I seem to have mislaid the screws for both sides by the windscreen, just need to find what thread they are and get some more.
 I then fitted the rear stainless trim. The wing ends were NOS ones, the centre is the original which just needed cleaning and painting. After a trial fit it was time to do it properly the "Mike Weaver" way.......... perfect, all lines up just right. As it should, Brian did borrow the old trims and lights to make sure everything lined up properly before it was painted...... it now has lovely shut lines.
I then fitted all 4 of the interior light door switches and then got the paint brush out. The trimmer had managed to catch and score the paint when he was fitting the vinyl roof. Fortunately it will be hidden behind the rear side stainless steel trims, but I wanted to make sure it was sealed to stop it rusting. I masked it off, painted on 2 coats of primer, and now that I have half a litre of the correct paint, some top coat can go on later.

Sunday, 26 February 2012

Rear Doors

What a lovely sunny day today turned out to be! Got the car out of the garage and finished off the n/s front door (got some new clips!) and then started the horrible task of putting the rear doors together. The glass will only just go in one way, and its just remembering which way that is!!

 Assisted by Bradley as usual, I took the stance that being as he removed the glass from the rear doors, he should remember how to put them back again!! Many hours of swearing and grazed knuckles later....... they are both in and trimmed up. Door locks, winder mechanisms, central locking solenoids, and all the door furniture except the door trims..... bit of rustproofing to do first!


Next job is to fit the estate rear side windowns, finishing wiring the central locking and alarm systems, then finish the outer chrome trim. I think underneath still needs the inner sills shutzing and then we might be ready to start the rustproofing!
Long way to go yet, but slowly and surely................

Sunday, 19 February 2012

N/S Front Door and Central Locking

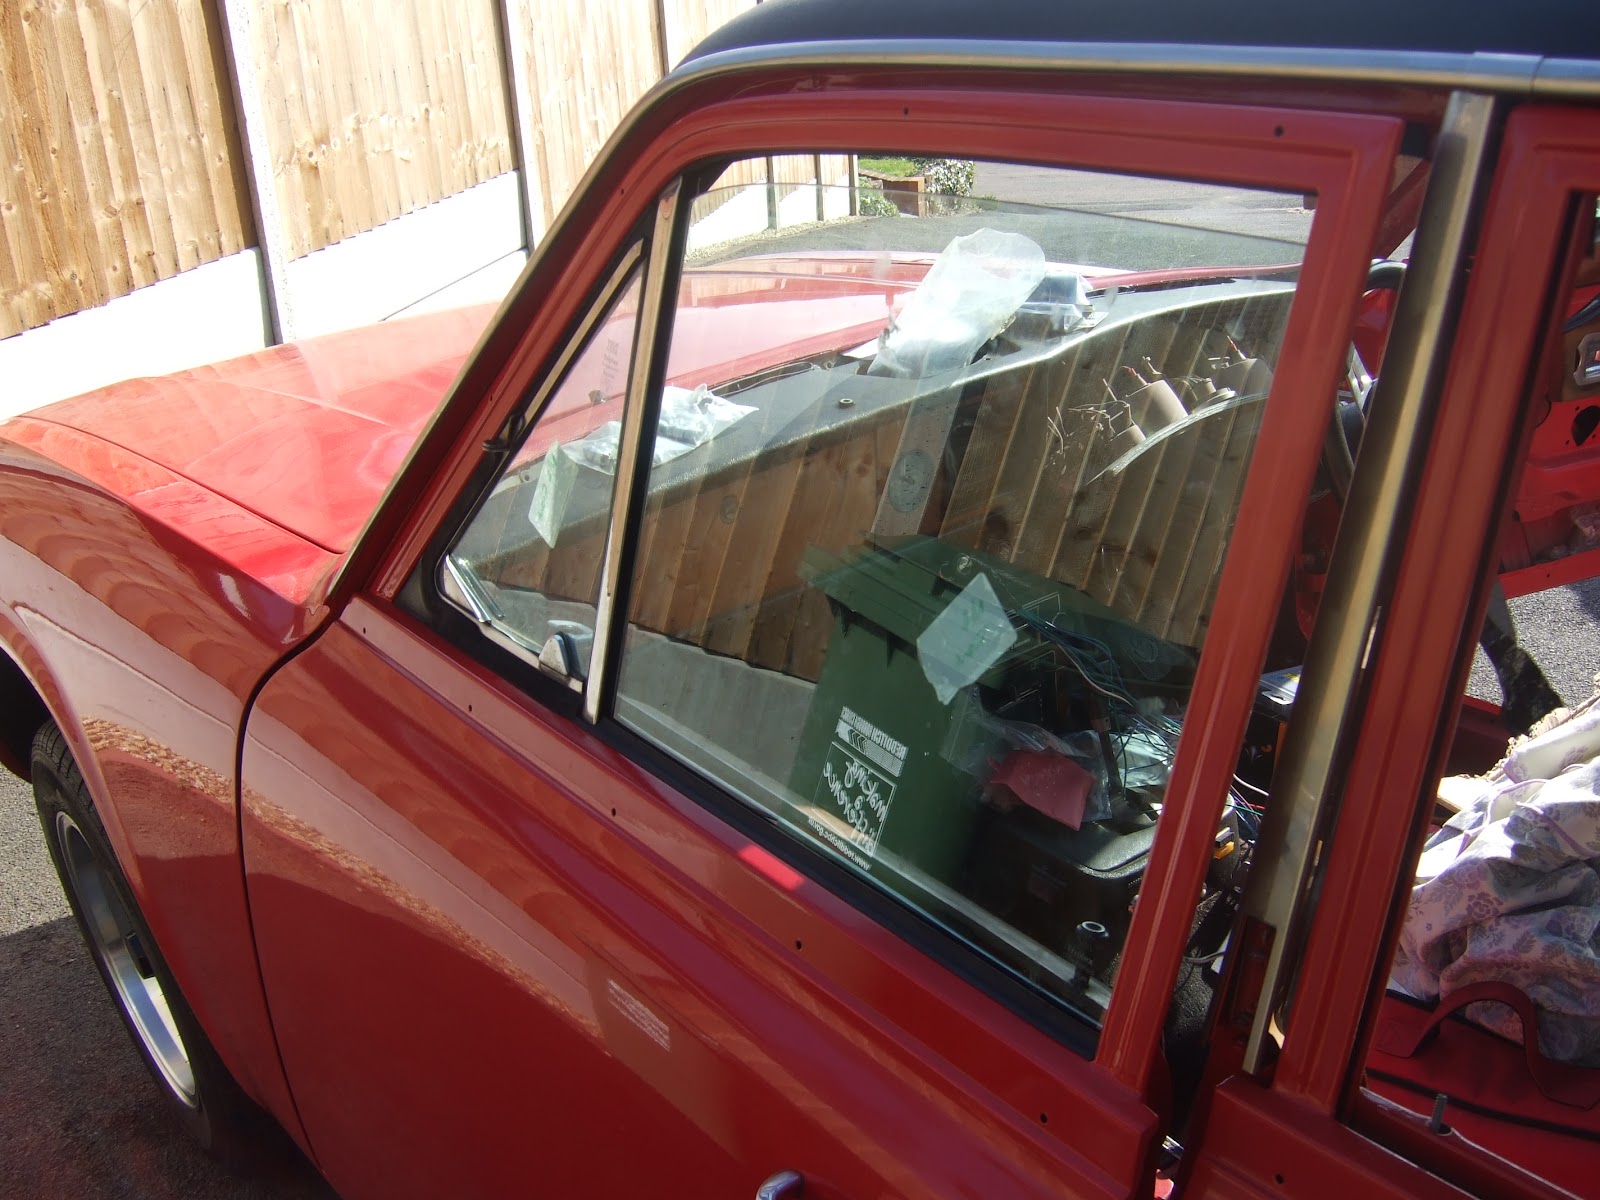
A few more hours spent on the car yesterday. Got the front nearside door fitted up with glass, locks and catches etc. Had to stop because I had forgotten to buy some new weatherstrip clips for the outer seal! Once those arrive I can put on the outer seal and then lift the window and put in the glass bottom stop. It was a bit quicker than the driver side as I remembered the correct sequence to do things in!!  FYI, anyone else who has to do this. Glass channel in, glass in, then roll in the quarterlight so that the channel lines up and picks up the drop glass...... then you can wiggle it around and bolt it up. Channels in last before the bottom stop goes in to allow the glass to drop low enough to get to the channel fixings!
Time to start work on the next mod. Being as the car is an empty shell, now is the easy time to do things. I wanted to fit a remote alarm on the car, with immobilisers and the one I found also came with a retro fit 4 way central locking kit...... bonus. Unpacked it, got my head round how it should work and be fitted then started putting it in.
 This is the drivers door actuator, hidden in the bottom of the door, with plenty of clearance for dropping th window. New loom goes through the door frame to the A post just by the interior light switch, then the loom goes up behind the dash and across for the other front door, and down the sill to the rear doors. Quite tidy, and nothing will be seen once the trim is back in.
 Finished fitting the pedal box too. I fitted this a couple of weeks ago but it just didn't look right. Found out I had managed to trap some wiring behind the pedal box which stopped it sitting flush. Ferreted round under the dash and bolted it in properly, and finished it off with the correct pedal rubbers I had sourced and finding I had bought the wrong ones!

Sunday, 12 February 2012

O/S Front Door

I know it doesn't look like much............ but that's about 5 hours work to get all the weather strips in, the glass in, the quarter-light in, the door locks and handles in and the electric motors lined up and wired..............!!


Still, another step closer................................