With the girls staying overnight at Sam's parents, I had an early start to be parked up outside Custom Chrome in Nuneaton a good 45 minutes before they opened. They operate a "first come first served" policy on a Saturday morning and I wanted to be sure to be the first on the ramps and therefore know that this would be sorted today.
It is about 50 miles to them from my house, so this was the first long drive I have done. Sitting at a sensible 55-60mph on the motorway (running new engine in!) and altering the speed between 50 and 60 occasionally, it was a lovely drive. Roof open, windows down, all good. Temperature gauge sitting at 1/3 all the way, no clonks or noises. Wheels out of balance and the speedo is squeaking like a banshee, but apart from that, all good.
When Graham, the owner, arrived for work in his XK140, I knew I was in safe hands!
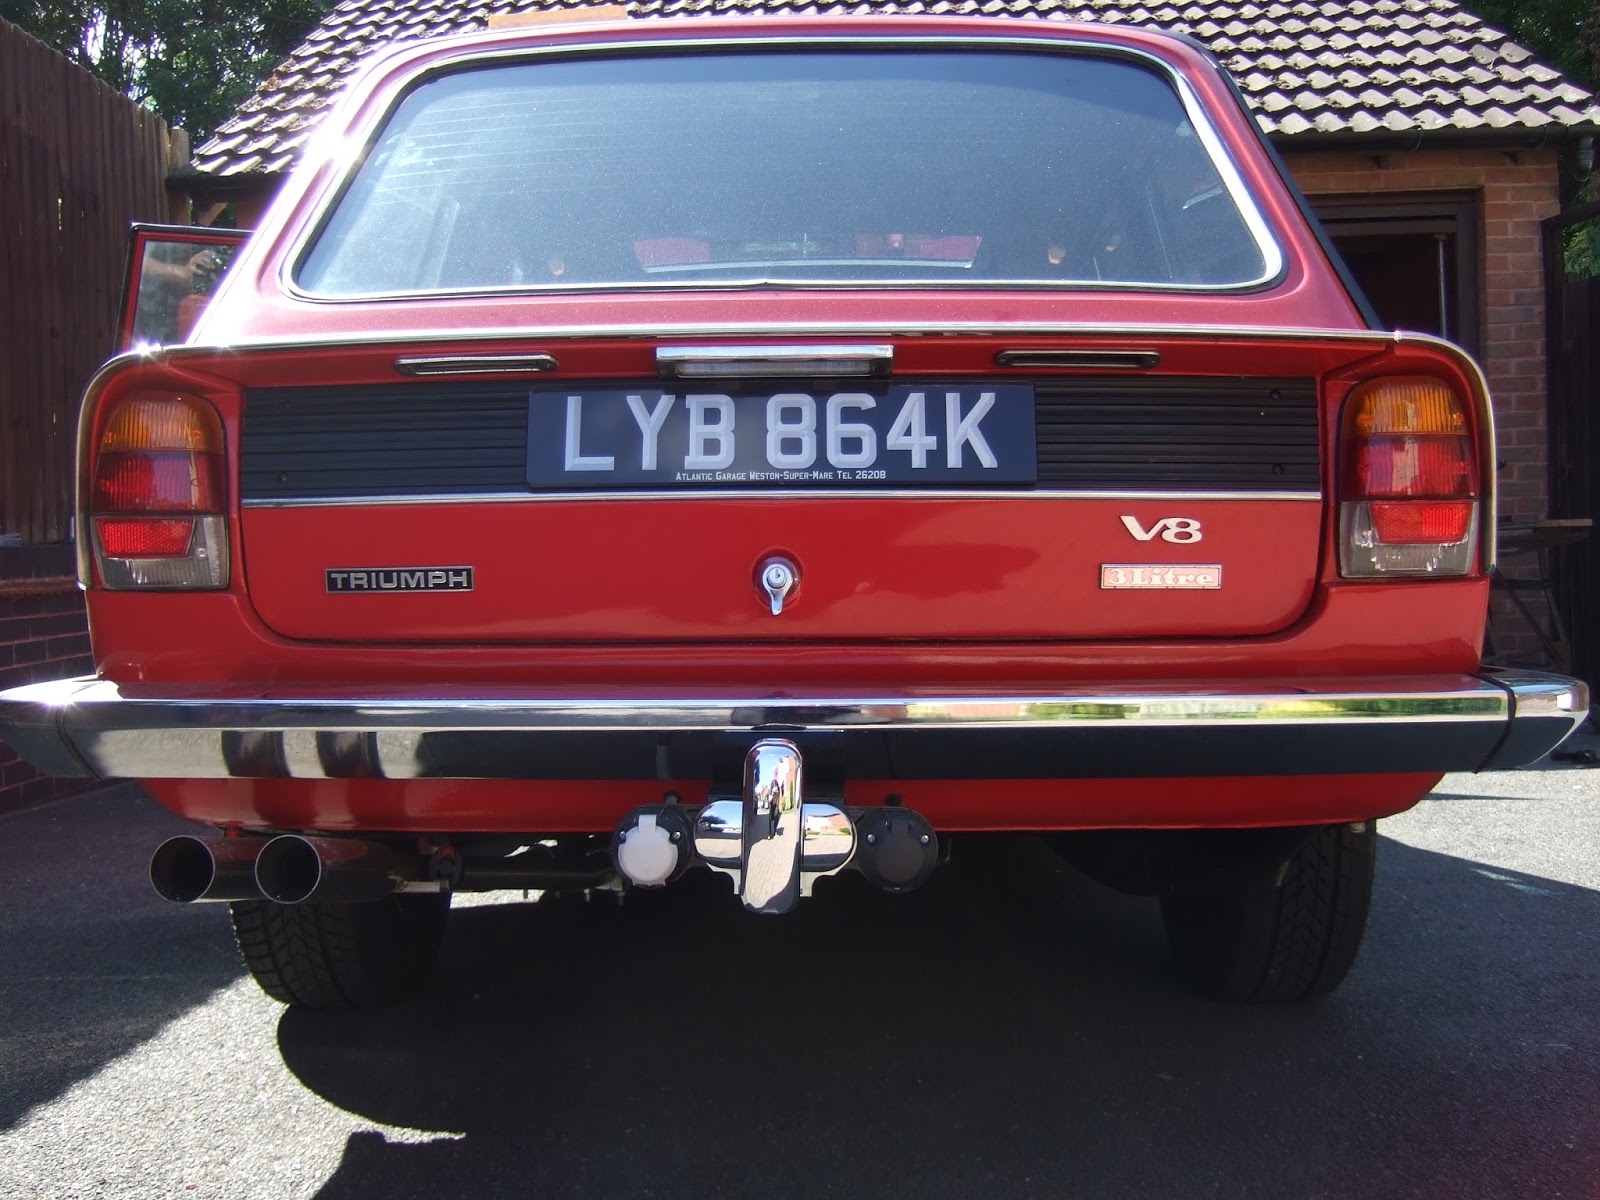
First off, the front pipes were heated and bent to the correct shape (n/s one was sitting too low and too long). Then the the rear section was fettled to fit properly and the tubes out of the back of the silencers cut off and positioned correctly. This made everything sit up and in the right place (Del Lines floor cut outs in the correct place to standard Stag silencers now fit up in the floor properly).
Graham, happy in his work!! Really lovely friendly and experienced people, couldn't recommend then highly enough.
2 hours later, job done. Sits in the right place, doesn't rattle, doesn't blow.
A much quieter trip home (my home made centre section really was awful!) I had a hour or so spare before I had to go and collect the girls. I fitted the drivers side carpet section on the A post, then fitted the parcel shelf.
Moving on to the rear, I fitted the window trim (painted black as original), the side panels and then the rear trim on the drivers side. Passengers side will have to wait until next time as time was pressing on.
Next job was to put it back in the garage, lift up the front and remove both front suspension legs. I had a clonk on the nearside suspension which we traced to a worn shock, despite it being new, so I have now got a set of Spax Adjustable front shocks and tomorrow I'm going to see Brian who is going to fit them for me (I don't have the tools to do this).
However, once I removed the n/s leg, I found the real problem. The shock tube has snapped off just below the threaded section which holds the shock in. Effectively, I have been driving it with no front shock at all !!!! Disaster!!!
Anyway, Brian has a spare front tube (although we don't have time to powder coat it, for now it will just have to be fitted and made pretty later on) and we are going to stick with the plan to put the SPAX in it. They will be much better, so thats the plan for tomorrow.