Tuesday, 28 April 2015

Late Night Flurry


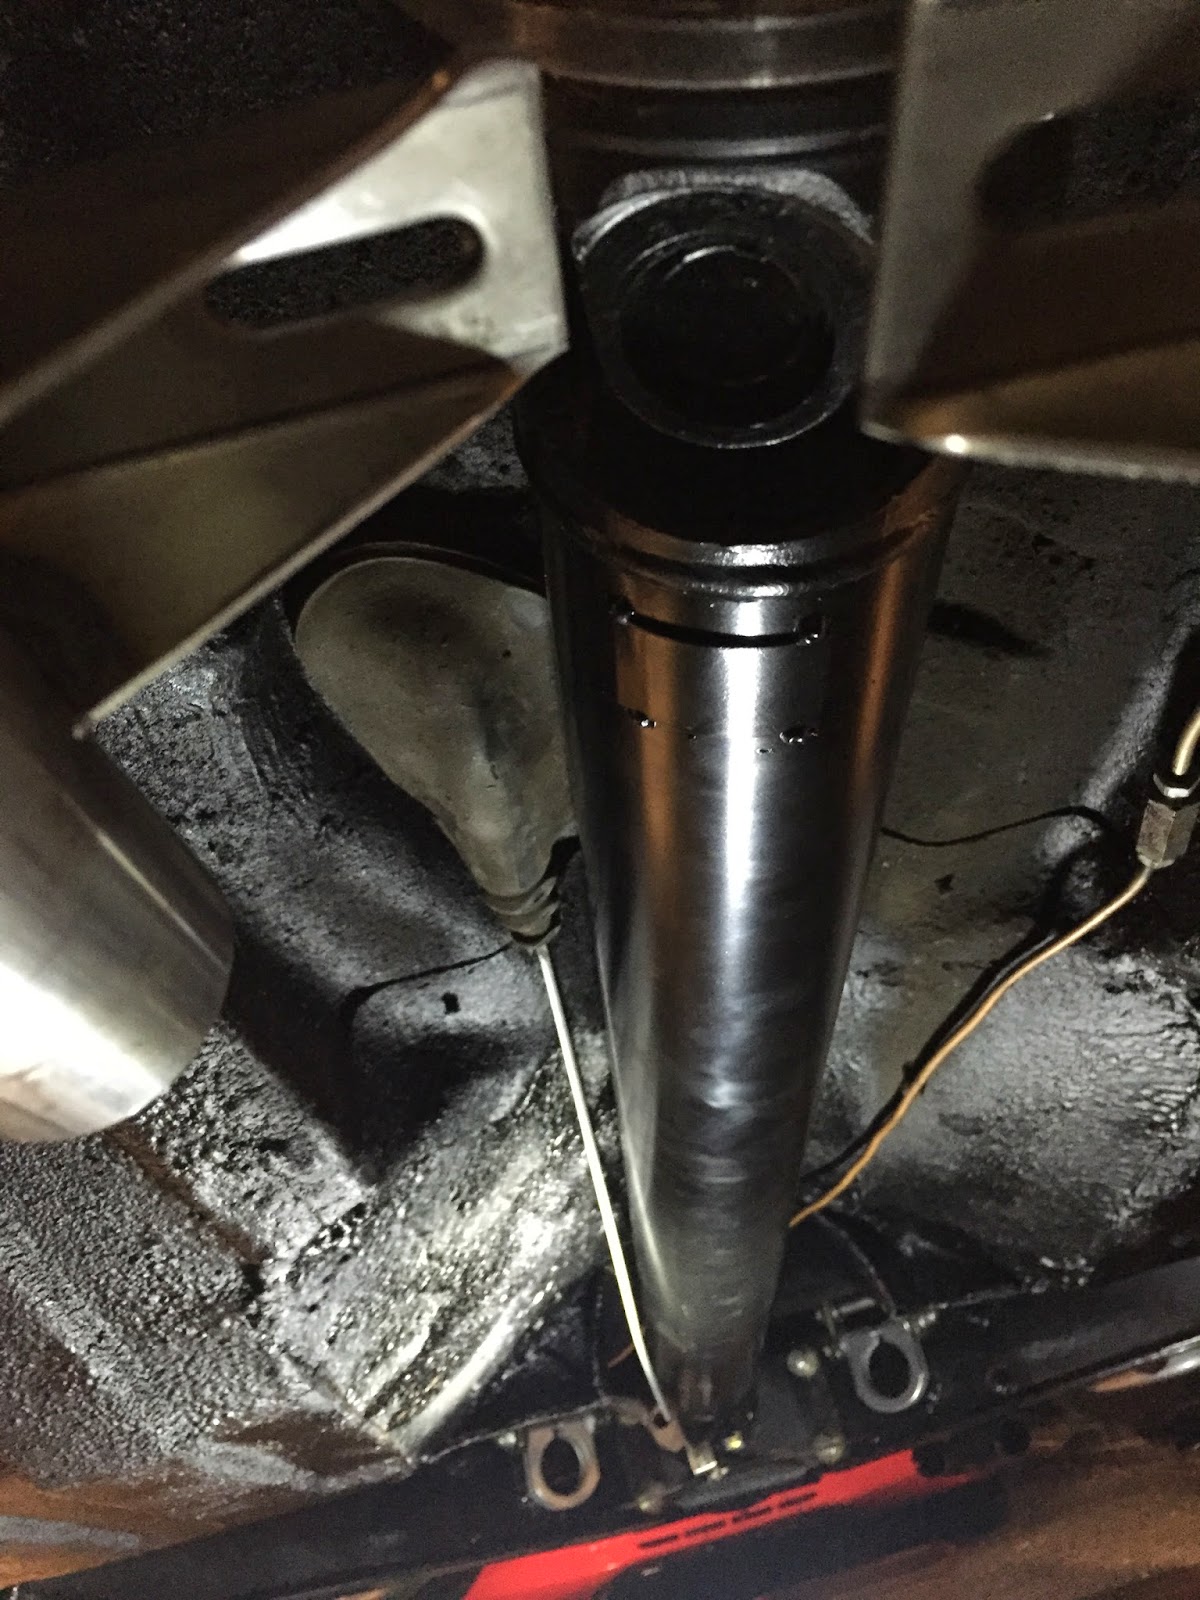
I have 2 nights to work on Libby due to being away for the weekend and various other family commitments this week, so tonight Bradley and I got cracking. The prop is back, rebuilt and longer so whilst brad was underneath fitting that, I sorted and fitted the gearlever.
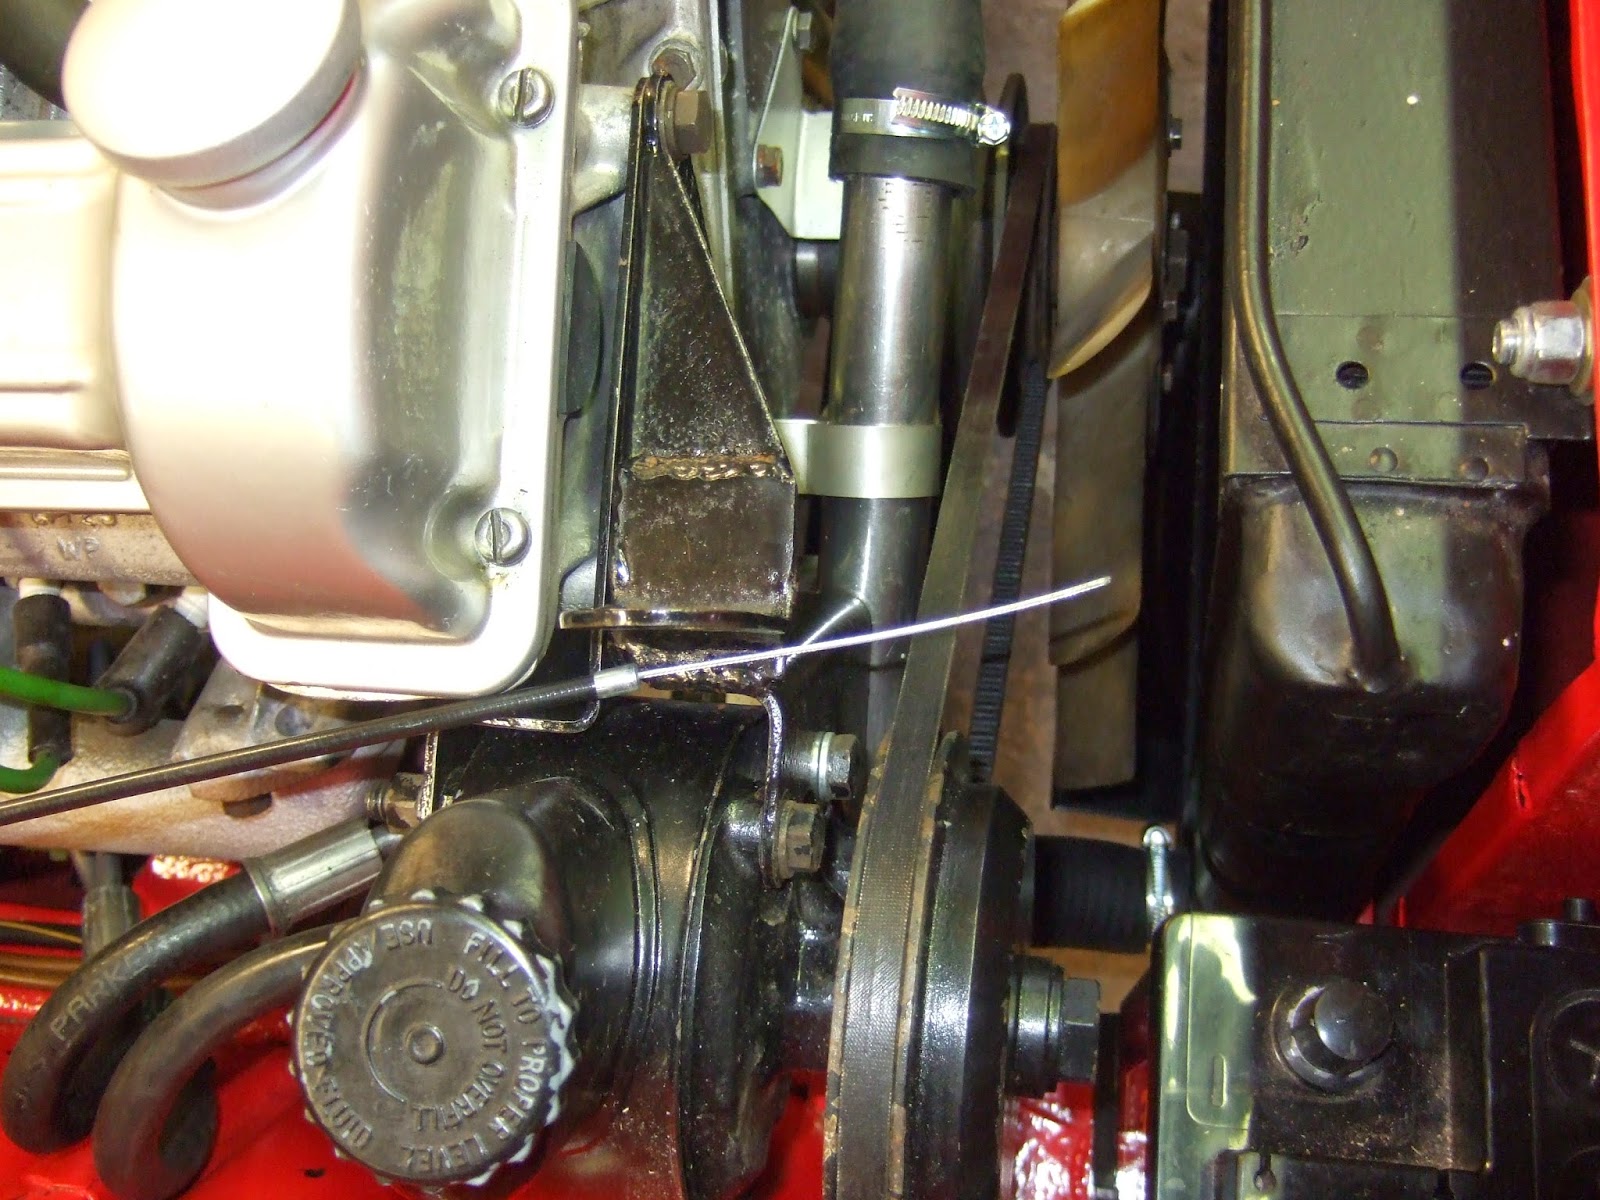
 Back under the bonnet, put in the longer feeds for the headlight relays (yet to be connected) and finished off the plumbing under the bonnet. After looking under the bonnet of Andy's car on Sunday at the Register Board Meeting, I found where the missing pipes went and also discovered why the chokes wouldn't work properly (cable in wrong side) so that was sorted. Under the bonnet is now ready.
 I placed the air filters on to make sure all the pipework cleared it, and maybe to see what it would look like!
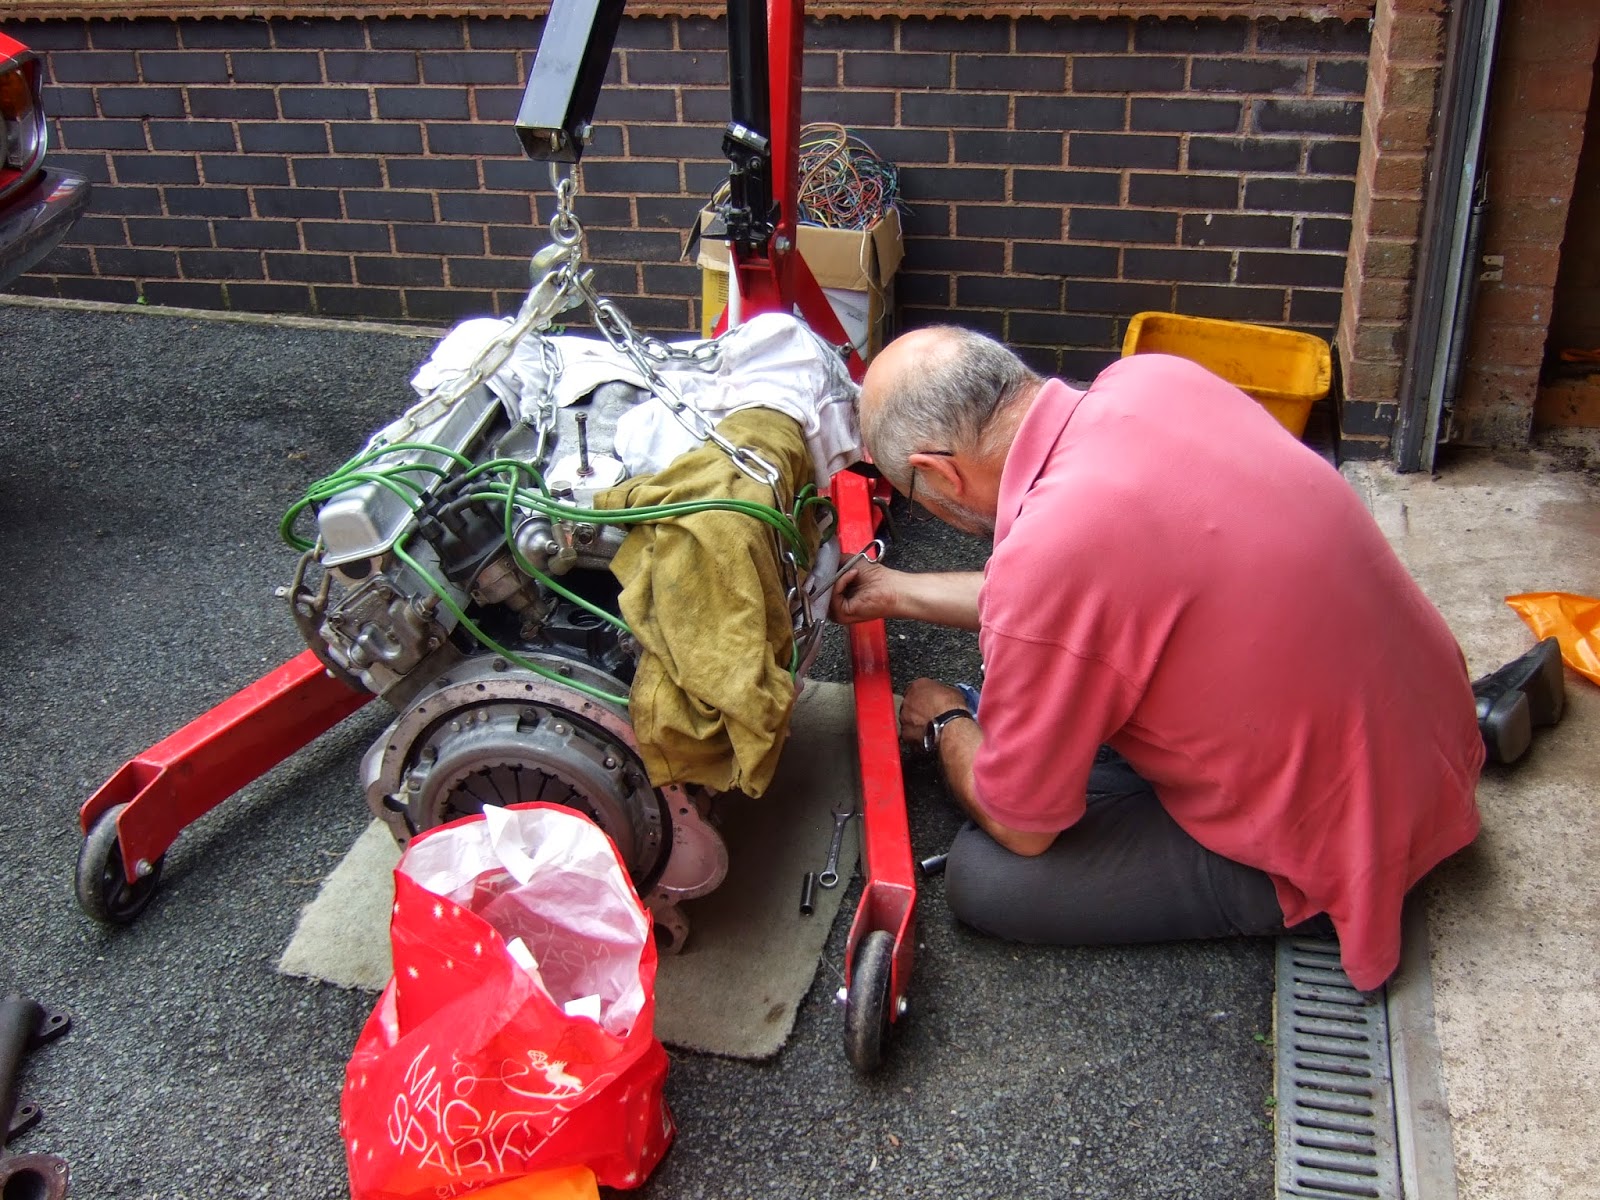
 After Brad had done the prop, we started on the exhausts. I've had some lengthening pipes made up so we can temporarily fit the exhausts, these now need cutting to size but that will have to wait as it was too late to be angle grinding at this point. This will make the exhaust 'functional' if not pretty. Once the car is running and MOT'd it will go to a custom exhaust builder to have the system properly fettled and extended and made to fit properly.


 Sometime, you just need to keep the end goal in sight..............
 I also have found the interior light wiring ready to fit those, and fitted the new wiper cover (bit of chrome, lovely!!). don't worry, the fuel line needs a clean and a new piece of joining hose. That will be done.
Thursday night will be cut and fit the exhaust pieces, plumb in the fuel tank, change this bit of hose above, fit the interior lights............. and then wait until its time to fill with fluids, check the wiring and then turn the key. The plan is, this will happen in the next week. I can't tell you how excited I am getting, it will be the first time this car has run since 1979.....................


Sunday, 19 April 2015

Finishing straight................?

First job of the day, trial fit the propshaft and measure how much needs adding. Using a Stag Prop as a start, we fitted the rear to the diff flange, then measured the gap between the end and the gearbox. Two measurements are needed as a Stag prop has a sliding spline. 120mm extended, 160mm compressed, so I shall be discussing the best way forward with my propshaft builder, but guessing we will be aiming for a mid point of 140mm. I shall also have the UJ's rebuilt and the whole thing balanced and done properly.

 Next job was to remove the pipework and carbs I fitted last time as I had managed to fit them back to front! With the carbs facing the right way, everything fitted much better and before long all the fuel lines, overflows and breathers were all installed.
 Next the new clutch master cylinder was fitted and connected to the pedal box. Whilst I was buried under the dash I also fitted the new speedo cable. Had two choices, 2000 or Stag. Tried the 2000 one first, too short. Stag one just right, but does seem to foul the gearbox crossmember. No way of changing that but I need to keep an eye on that.
 Then under the car and fit the clutch slave, other end of the speedo, then bled the clutch. Nice positive feeling pedal. I then wired up the starter motor, and added in the extra feeds for the relays for the headlights. I chose to take the power feed for this off the back of the starter as it just by where the relays are mounted. Made up the wiring harness and fitted that too.
 Next job, refitted the orginal Maserati Air Horns (after Bradley has cleaned them though........ polisher!) I could then fit the overflow bottle and finish the water connections.
 We then carried on and fitted all the coolant hoses. Mild panic as I couldn't find the stainless steel water pipe, but discovered it lurking on a shelf...........!
 Brad declared that part of the work as "ok".
 It really is starting to look complete!
 We then fitted the exhaust front pipes and tried to work out how the rest of the exhaust should work. As you can see from this picture, the offside front pipe is sitting too high so will need some "modifying". After lots of head scratching we have concluded that we can cobble something together that will work, but really it is going to need the attention of a proper custom exhaust place to modify it properly to fit.
 Whilst under the car I noticed that the bottom water pipe was hitting the alternator fan. What is needed is a clip to hold the stainless pipe in the right place. A quick rummage through my dwindling pile of parts revealed a familiar looking clip with a label on the bag "bottom hose clip". That'll be it then! Removed and refitted the pipe with the clip and all is well.
Finished off by re doing the wiring to the tailgate, made up the missing heated rear window loom and fettled a few things under the bonnet.

Next jobs, fit the prop, try and fit the exhaust as best we can, cut down and fit the battery clamp, after that and some minor trim work to do inside......... its ready to fire.

Sunday, 29 March 2015

Opps!!!

Well, you lot are an eagle eyed bunch aren't you!!?

The last picture I posted, no one spotted I had fittted the carbs back to front!!!!!!!!!!!!

I cut and fitted the new fuel lines, made up the breather sections and overflows......... then wondered why nothing met up properly!

It was only after I googled a Stag Engine picture that I realised my blunder, the carb linkage should be facing the rear of the engine, not the front!!

So, I now had to remove all the incorrect pipework, remove the elbows (which explains why the bolt wasn't long enough to fit the choke bracket, should be on the other side!), turn the carbs around then start again.

Need to get some more fuel line as I've cut it, and its now too short..............

Its like learning the Waltz..............


2 steps forward, 1 step back.

Saturday, 28 March 2015

Fitting up engine

Its flying along now!! Had a few hours on it on Wednesday evening, and with the help of Bradley's muscles.... the gearbox is in!
Now bolted up, rear mount rebuilt and fitted and the engine and box now sitting in the right place.
This afternoon I managed to get the alternator fitted, the PAS brackets and PAS pump on (having first remembered to put the battery in first!!, then the belts, the carbs and elbows, the radiator, the fan shroud and the starter motor.
It doesn't sound like much, but it really is starting to look like a car again!!
The list of things to fit and fix get shorter and shorter............ 


Next job is to measure by how short the Stag prop is, so it can be lengthened. this car originally had a 2.5 prop, but later built cars used lengthened Stag ones as the U/J's are bigger. I had the gearbox and the diff built with Stag flanges for this very reason.


Saturday, 21 March 2015

Tailgate Seal and Gearbox

Well, that was a bit of a longer break than I hoped for. The new house has just eaten up all my free time, but the end is almost in sight. I have managed to put in a new kitchen, and decorate the whole house, with the exception of my office, the utility room and 3 bathrooms. But, we have decided that these rooms can wait until the winter to do, and that I can now spend some time on getting Libby finished. I needed some time in the garage putting up shelves, lighting etc, but now its time to crack on.
Sam finished work earlier than expected today, so I decided to get a few hours in whilst I could.
So, I trimmed the new D Post trims that found there way to me from Yorkshire Triumph (Thanks guys!), trimmed in black vinyl to match the head lining then glued and clipped in place.

 Then came the tricky job, Removing the tailgate, so that we could glue on the tailgate seal. I couldn't get a new one (rocking horse teeth) but Andy donated a good used one. We turned the tailgate upside down on a table, glued it, then refitted. Thanks to Brad and James for the muscles!!!
 Then came time for a gearbox fitting!! The car was jacked up and put on ramps.
 Then with Brad under the car holding the flywheel, I fitted the pulley and fan assembly, then torqued up the nut to 100ft/lbs. That should come off then!
 The gearbox had been rebuilt completely by Mick Papworth, it was wired up and filled with oil, it just needed throwing on.
 So, on we threw it and got all, bar 2 bolts in. I seem to be 2 bolts missing, so I'll get those this week I hope. then I can lift it up, fit the rear gearbox mount and then measure and get the propshaft made.
Very productive day, and it felt good to be working on her again. The end is in sight...........

Sunday, 14 September 2014

Engine arrives!


So, today is the day. After several false starts due to component failures and engineering failures to do with the gorilla who worked on my engine in a previous life, the date was today to fit the engine into Libby. It is interesting to note that come December I will have owned this car for 5 years, and I have never, ever, seen it in real life with an engine in. Excited? You bet?!

 First things first, whilst waiting for engine to arrive I was playing around with tank filler hoses. I have two, long and short, and after careful measuring, the short will fit with the long ones metal breather pipe. Need some clips, but at least I know I have one that will fit and work (Thanks to Marc Cheney who donated one from his garage as mine was MIA!)
 With Andy Roberts due to arrive, I had to make a quick trip to the shops to ensure I had the requisite supplies in stock! Andy, like me, is Irn-Bru powered!!!
 Bradley was the first to arrive, so we whipped off the bonnet and careful stored it resting on carpets and blankets. I really didn't want to scratch this!
 Eric Mc Triumph (this years RBRR steed) gazes on as Andy backs the trailer laden with a very very expensive garage ornament!
 ooooooooooooooooooooooooooooo, a V8 engine!!
 Now we had a few hours of fettling to do. Needed to fit the correct exhaust manifolds (these ones temporarily fitted to ensure the threads were ok and would torque up, and because the engine lift eyes connect to them! Also had to fit engine mounts and plates.
 Whilst Andy did that, I cleaned and fitted the correct gearbox loom which Andy generously donated. the eagled eyed will spot the additional isolator switch which allows for overdrive in 2nd, 3rd and 4th. (don't worry, it is an uprated overdrive!)

 Properly clean and painted manifolds going on.
 Before we actually fitted the engine, we knew we needed to rewire the engine bay. Being as the car originally had a MK1 engine and we were fitting a MKII, some changes needed to happen. We also wanted to correct some of Mr Lines's wiring bodges. Horns were a worry, especially when we found that two wires on the main horn circuit had a questionable connection.
 On closer investigation, two spade connectors, joined together using a piece of tin snipped out of a tobacco tin!!!!! Seriously!! Proper joints now in place!

 We investigated the horn wiring and couldn't work out why there was an additional horn switch on the centre console marked "Horns", when the proper horn switch on the end of the indicator stalk was still there. The car had never had proper twin-tone Triumph horns on it, but always had air horns.................. or so I thought! I had purchased a set of normal air horns to replace the crusty looking horrible things I took off which I presumed after lying dormant for 30 odd years would be scrap.
On closer investigation (thank god I didn't throw them away!!) it turns out the original air horns are "proper".......... Maserati Air Horns. So, they have a throw over relay inside. They should work off the stalk switch, but the "horn" switch on the console changes them between a continous "blast" and the musical scaling tones of a Maserati!!! Shame they don't work..................
Well, a drop of oil down the hole marked "oil", quick connection to a jump start pack...... they only flippin' well work don't they!!!!!
Yeeeeeeeeeeeeeee haaaaaaaaaaaaaaaaaaaaaaaa!

 I popped inside to make a cuppa, come back out with a brew for the workers and they nearly had it in!!!

 Engine mounts are a swine to put the bolts in when the engine is not designed to fit in this car. Almost 2 hours spent trying to bolt it up. But, its in.

 We then spent an hour or so, running the wiring loom, connecting, making new connectors, fitting the coil and basically going until we had really had enough.

How pleased am I? Epic, truely epic. As I said before, I have never seen this car with an engine in, and now it has one. Some more wiring to do, get the box in, radiator, plumb, exhausts, prop. etc etc. Lots to do, but at least its in!!!

Again, many many many thanks to Andy for building the engine and delivering it, and as usual to Bradley for his assistance as ever!

Wednesday, 30 July 2014

I'm back!

Well, we finally moved house on 11th April! It was a bit of a last minute rush to be honest and until I had the keys in my hand I really wasn't sure it could happen....... but it did!

So, our new house is a bit bigger than the old one, with more land (and its flat!!!) but the only downside is a smaller drive. I had a car park before, but now I have enough room for 2 parking spaces on the drive.
A bonus is the extra piece of land to the side, carefully hiding the caravan, which will have proper gates and give us a bit more room on the drive when its done.
The whole house needs decorating top to bottom, so I've been busy with paint brushes, wallpaper, carpets, curtains, shelves, wardrobes etc. Not finished yet, and I expect it not to be done until Christmas....... there's lots to do!

 Libby is home and tucked away in the garage, and I've not had chance to touch her until today. Got some shelves up in the garage to start sorting out the piles of crates and boxes. The boot is now empty, racking up with all the bits that need to go back on, and its a fairly small pile to be honest!
A flurry of activity the last few days as I prepare myself for this weekend...............................! I'll fill you in when it happens, but the biggest step of all is due to happen this weekend, I can hardly wait!!!!