Sunday, 26 February 2012

Rear Doors

What a lovely sunny day today turned out to be! Got the car out of the garage and finished off the n/s front door (got some new clips!) and then started the horrible task of putting the rear doors together. The glass will only just go in one way, and its just remembering which way that is!!

 Assisted by Bradley as usual, I took the stance that being as he removed the glass from the rear doors, he should remember how to put them back again!! Many hours of swearing and grazed knuckles later....... they are both in and trimmed up. Door locks, winder mechanisms, central locking solenoids, and all the door furniture except the door trims..... bit of rustproofing to do first!


Next job is to fit the estate rear side windowns, finishing wiring the central locking and alarm systems, then finish the outer chrome trim. I think underneath still needs the inner sills shutzing and then we might be ready to start the rustproofing!
Long way to go yet, but slowly and surely................

Sunday, 19 February 2012

N/S Front Door and Central Locking

A few more hours spent on the car yesterday. Got the front nearside door fitted up with glass, locks and catches etc. Had to stop because I had forgotten to buy some new weatherstrip clips for the outer seal! Once those arrive I can put on the outer seal and then lift the window and put in the glass bottom stop. It was a bit quicker than the driver side as I remembered the correct sequence to do things in!!  FYI, anyone else who has to do this. Glass channel in, glass in, then roll in the quarterlight so that the channel lines up and picks up the drop glass...... then you can wiggle it around and bolt it up. Channels in last before the bottom stop goes in to allow the glass to drop low enough to get to the channel fixings!
Time to start work on the next mod. Being as the car is an empty shell, now is the easy time to do things. I wanted to fit a remote alarm on the car, with immobilisers and the one I found also came with a retro fit 4 way central locking kit...... bonus. Unpacked it, got my head round how it should work and be fitted then started putting it in.
 This is the drivers door actuator, hidden in the bottom of the door, with plenty of clearance for dropping th window. New loom goes through the door frame to the A post just by the interior light switch, then the loom goes up behind the dash and across for the other front door, and down the sill to the rear doors. Quite tidy, and nothing will be seen once the trim is back in.
 Finished fitting the pedal box too. I fitted this a couple of weeks ago but it just didn't look right. Found out I had managed to trap some wiring behind the pedal box which stopped it sitting flush. Ferreted round under the dash and bolted it in properly, and finished it off with the correct pedal rubbers I had sourced and finding I had bought the wrong ones!

Sunday, 12 February 2012

O/S Front Door

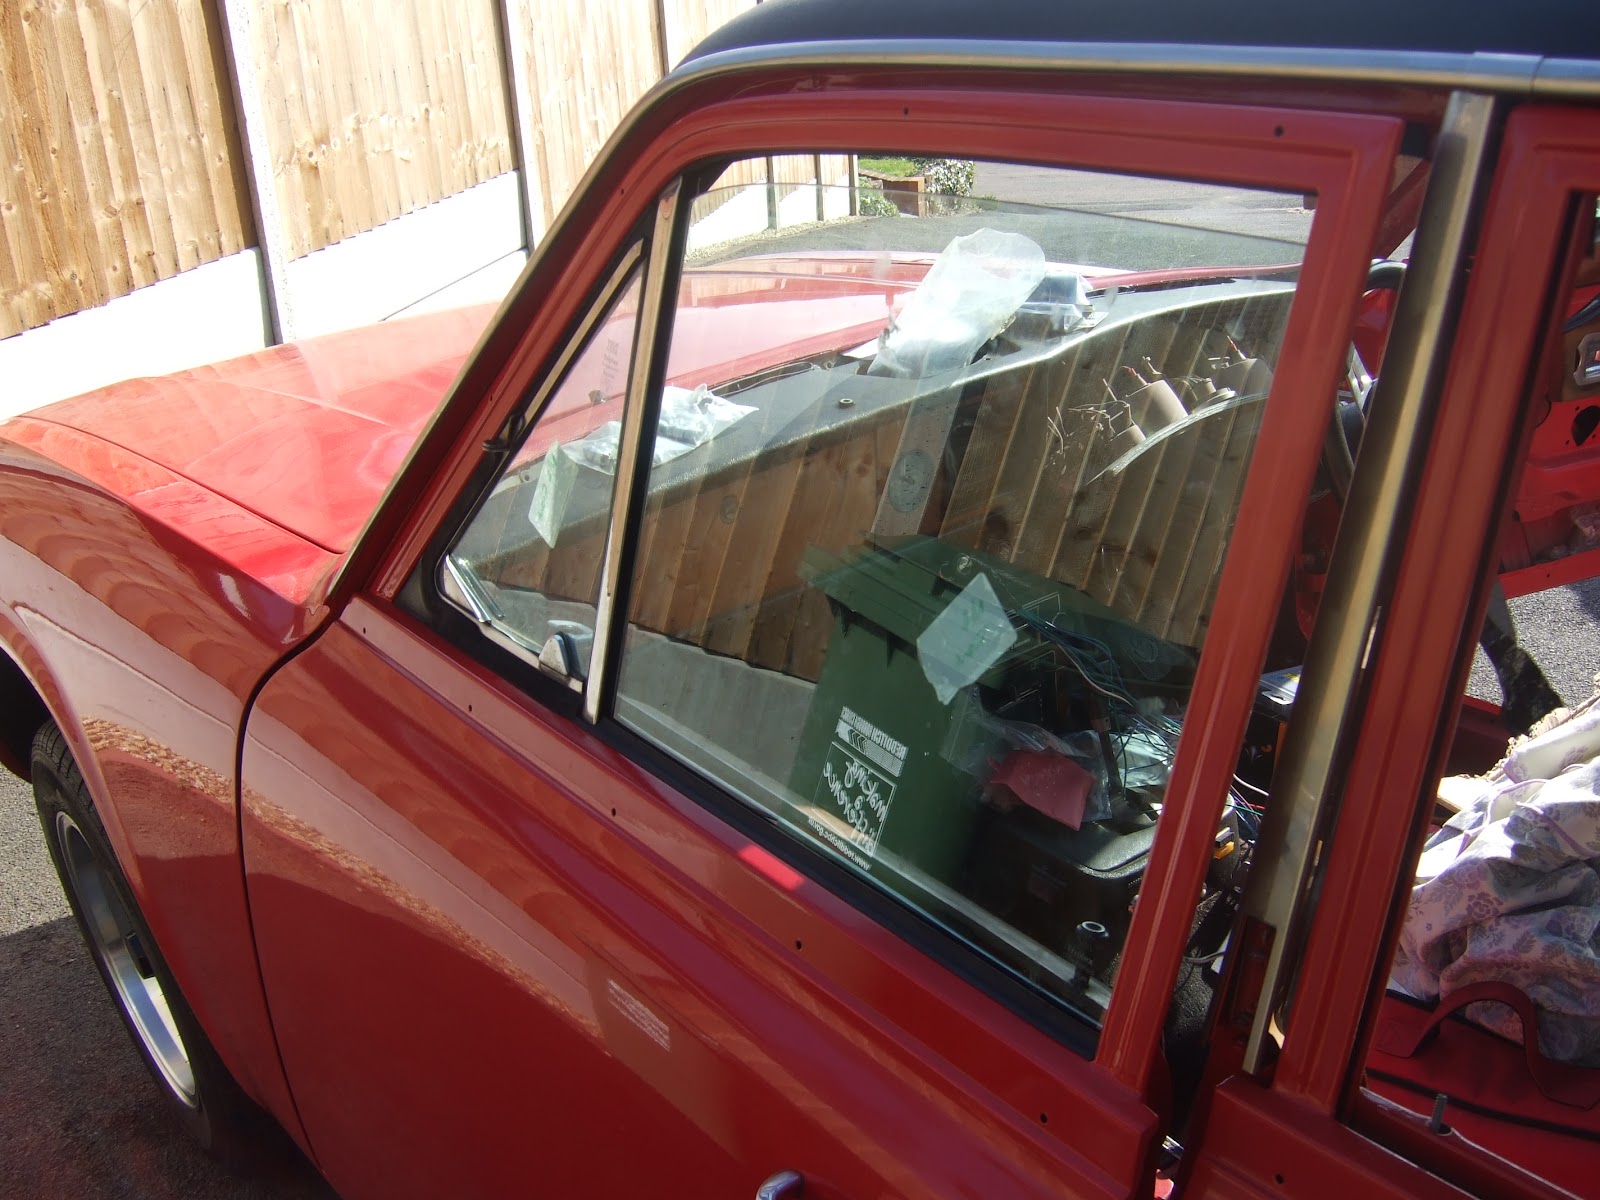
I know it doesn't look like much............ but that's about 5 hours work to get all the weather strips in, the glass in, the quarter-light in, the door locks and handles in and the electric motors lined up and wired..............!!


Still, another step closer................................

Sunday, 29 January 2012

Seats

Had the call to say that the front Recaro seats were ready the other day. Little road trip down to sunny Bournemouth to collect them today.
If anyone wants any special trimming work doing, I can thoroughly recommend Brian Cates      zagatoseven@hotmail.com     He has done wonders with my old horrible seats and they look amazing now. We had discussed several options for restoring the original seats, including keeping them looking as per the original photos....... but in the end we both agreed that it looked silly having grey cloth fronts and black vinyl rears. Having collected some NOS Triumph Vinyl seat covers over the years, he used those to create the centre squabs and the rest was done in standard black vinyl......... leather was tempting but what would it match to?
The new headrests were trimmed to match, and then new Recaro badges to finish them off............. amazing.

Here's a reminder of what they looked like, in the bare bones and what I collected today........................ the photo does not do them justice, they really are stunning............ thanks Brian!!


Sunday, 22 January 2012

Two posts in one day!?!?

Second post of the day?!?!?  Well, I thought I had finished for the day, but found another couple of hours this afternoon. So, I did what I wanted and pushed the car out of the garage.............. first time in about 12 months its seen daylight I think!!
 You could almost see it blinking in the daylight..........!!
 Once I'd put the servo back together again (got it upside down before!!) I then fitted it along with the pedal box.
 Slight blunder, the new pedal rubbers I have bought appear to be 2 throttle pedals rubbers instead............ new, correct ones ordered now!!
 During the clean up I found the missing piece of trim for below the O/S rear door................ quick polish up and on it goes.......... much better.
Not alot done, but every little helps............................

On it's wheels!

Managed to get a couple of hours in the garage this morning. Got the two front brake lines fitted. They are different to a 2000/2500 as the offside front one comes under the car and is clipped to the front cross-member before it goes to the PWDA valve on the nearside inner wing. The nearside one is just a short run, double clipped to the other one.

 After that, I then torqued up the front suspension, popped the wheels on then admired by how much I had got the tracking out!! Got both wheels now looking like they point in the same direction and then it could come down on its wheels............. first time since last summer it has actually sat on 4 wheels!!


Next job is to push it outside and have a tidy up of the garage and inside the car. I can't find ANYTHING at the moment, so a general clean up is needed. Then I can fit the refurbed pedal box, the servo and master cylinder and then do the brake lines from the M/C to the PWDA valve and the short run to the rear and the brakes will be finished.
I have the centre of the floorplans and the inner sills to Shutz and then underneath will be done and I can start on the trim!
Meanwhile, here is a reminder of the state of the original front Recaro seats....... hmmmmm, tired springs to mind, missing one headrest and one badge and generally had it! So, a couple of weeks ago they went to the trimmers in Bournemouth. Lovely man by the name of Brian Cates, works from home and does classic trim and upholstery. He came up to drop some other trim off in Kidderminster and swung by mine on the way back to collect the seats. I had sourced 2 new headrests, but in black cloth and 2 new Recaro badges. He is going to strip the seats, rebuild them with new foams and then make new covers out of a mixture of black vinyl, black leather and some original Triumph Diamond Vinyl. This will mean the front seats will still be Recaro's but they will now match the rears. He is also going to recover the new headrests to match. They should be ready next weekend hopefully.
 In the meantime he sent me a picture of them stripped down...................oooooo, I hope he knows how to put them back together again!!

Saturday, 14 January 2012

Little bits

Busy day spent doing............ not a lot really! Went out shopping this morning to get some more brake pipes made up, run out of hand-cleaner, needed some longer rivets, etc etc............ ended up at the tyre bay getting the tyres put on the front rims ready for the car to come down off the stands.
 Fished the manifolds out of the citric acid bath.............. that stuff is amazing, not a spec of rust or corrosion anywhere, even the insides are clean and sparkly! Got them dried off with a hot air paint gun, got them hot then sprayed with several good coats of silver VHT paint............. looking good!
 Then it was time for a rest! The Audi was looking sorry for itself and needed a good clean. Spent most of this afternoon getting it looking nice again  (don't call me the polisher for nothing!!) Washed, clay bar'd, polished, glass, trim....... all done!
 Seats needed a clean and a feed, back soft and supple again................ not looking bad for 100k?!!
 Managed to clamber over things to get to Libby's original rear bumper too.................
 Now all packaged up ready to be couriered up north to help a fellow Lines Estate owner out who needs a bumper just to make it look right rather than perfect.................